
Making my own grain spawn, part 2
I like to experiment with different techniques when it comes to mycology, to see whether the smallest differences make any impact on the overall yield or result. And this also applied to my mini experiment of making my own grain spawn at home, just to see if I could actually do it. Click here to see my first blog on how I made my own grain spawn at home.
As this was my first attempt at trying to make my own grain spawn, I was eager to see how it would all turn out and whether the technique I had followed would actually work for me. Or rather, had worked for me as there wasn’t really much more I could do except wait and be as patient as I could be.
Which wasn’t very much, to be honest.
There I was, every day, inspecting each jar as closely as I could to see if there were any changes to the contents inside. If I’d had a magnifying glass near me, I would have used this too, but alas I didn’t. It wouldn’t have made much difference though, whatever was happening inside the jars was beyond my control.
5 days after inoculating the soaked and drained milo with old grain spawn, this is how the jars looked….
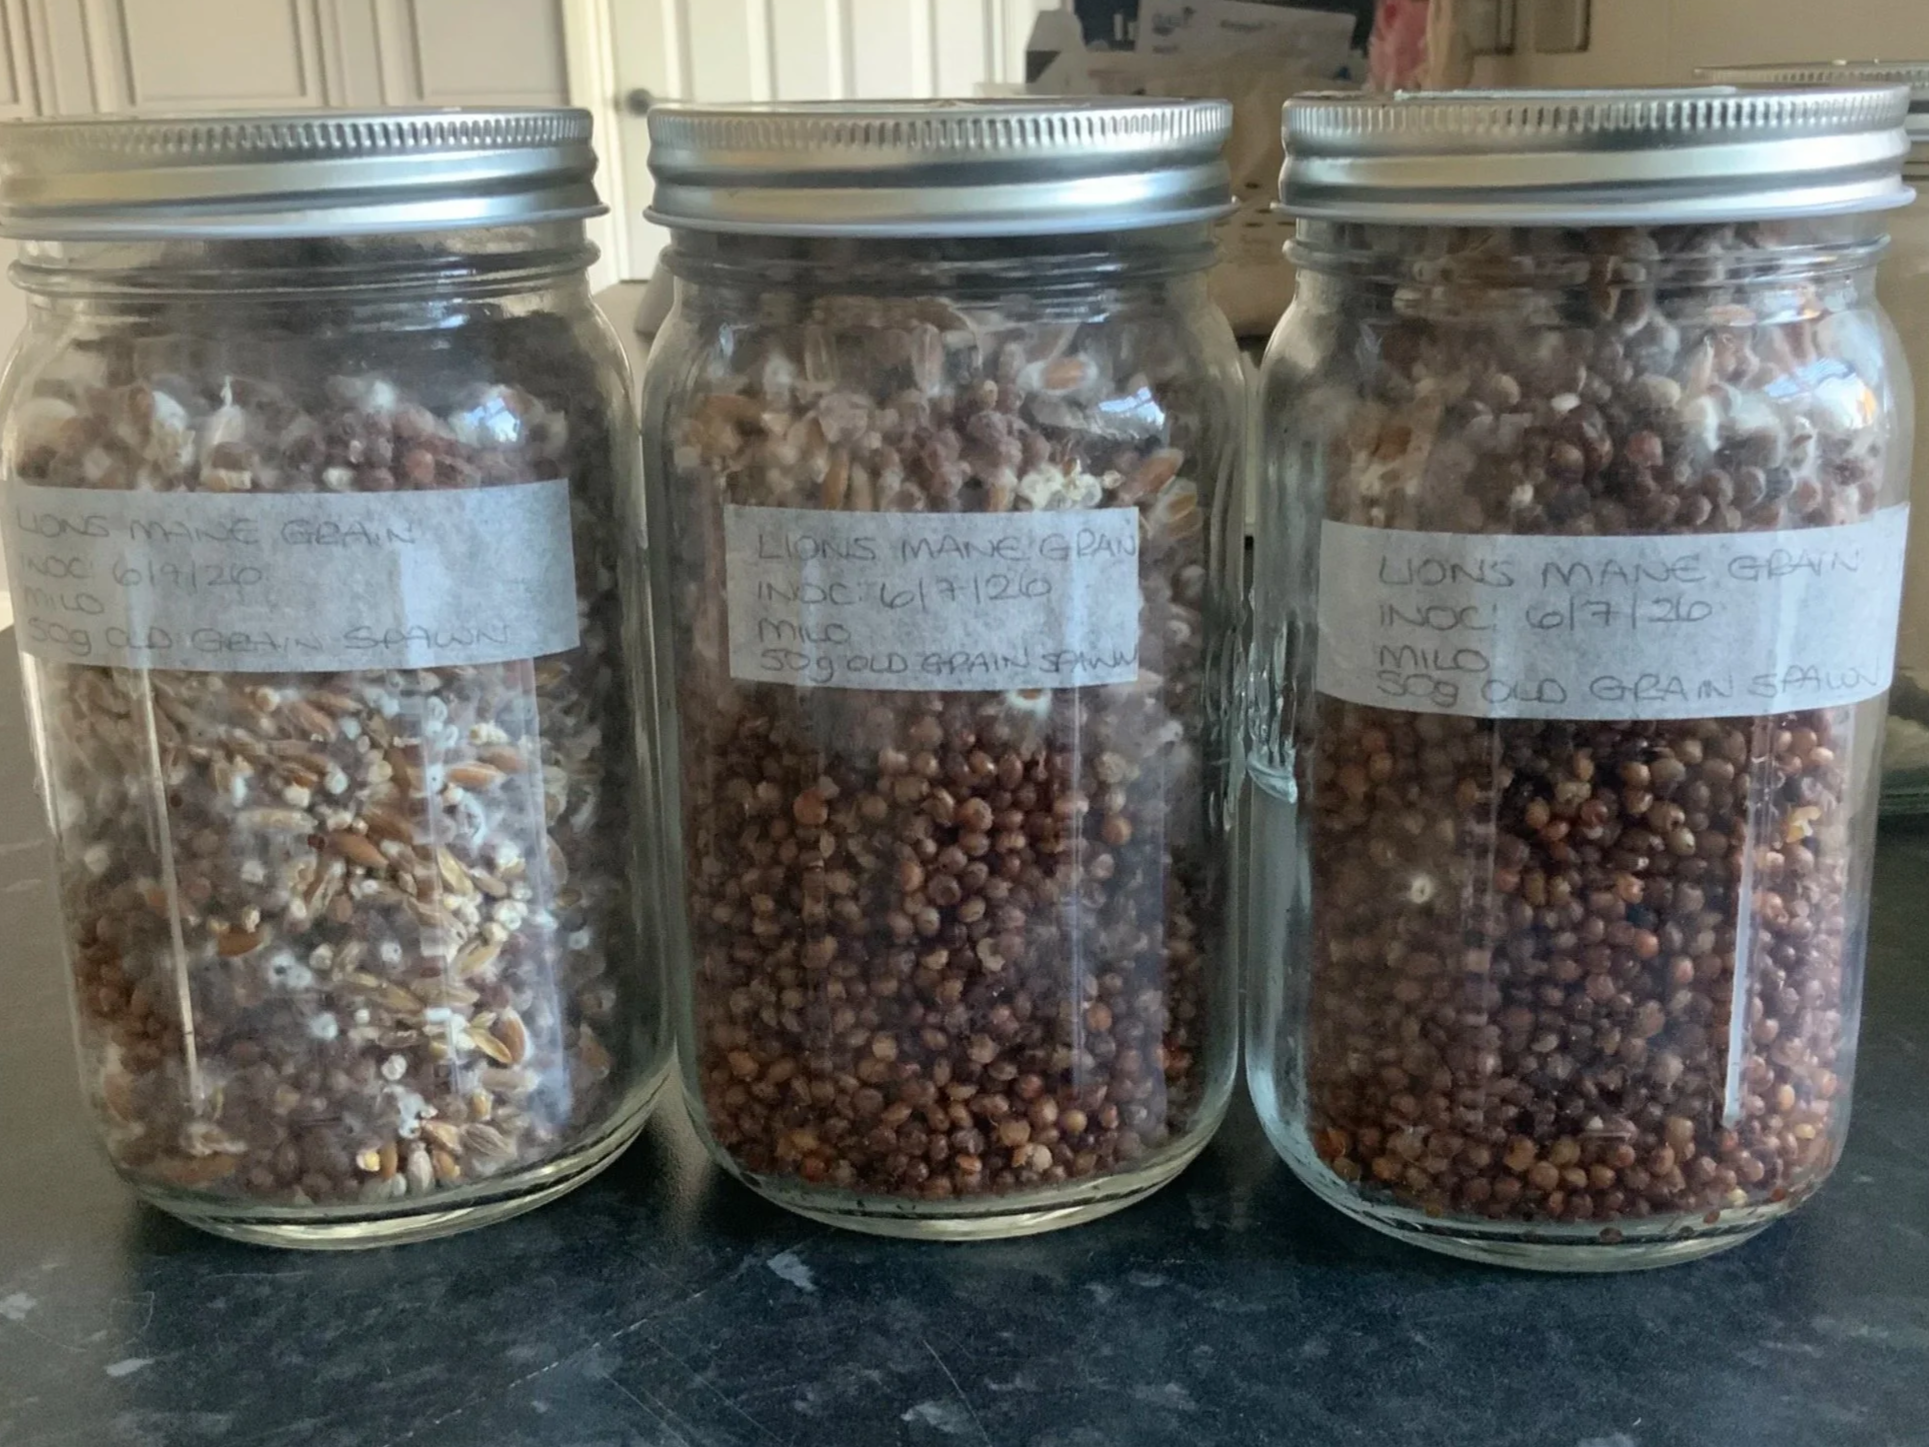
3 jars of hydrated milo grain with signs of mycelia colonisation.
Well, I was over the moon! Each jar showed signs of the mycelium munching its way through the hydrated milo, one jar more so than the other 2. But I was thrilled with the early results.
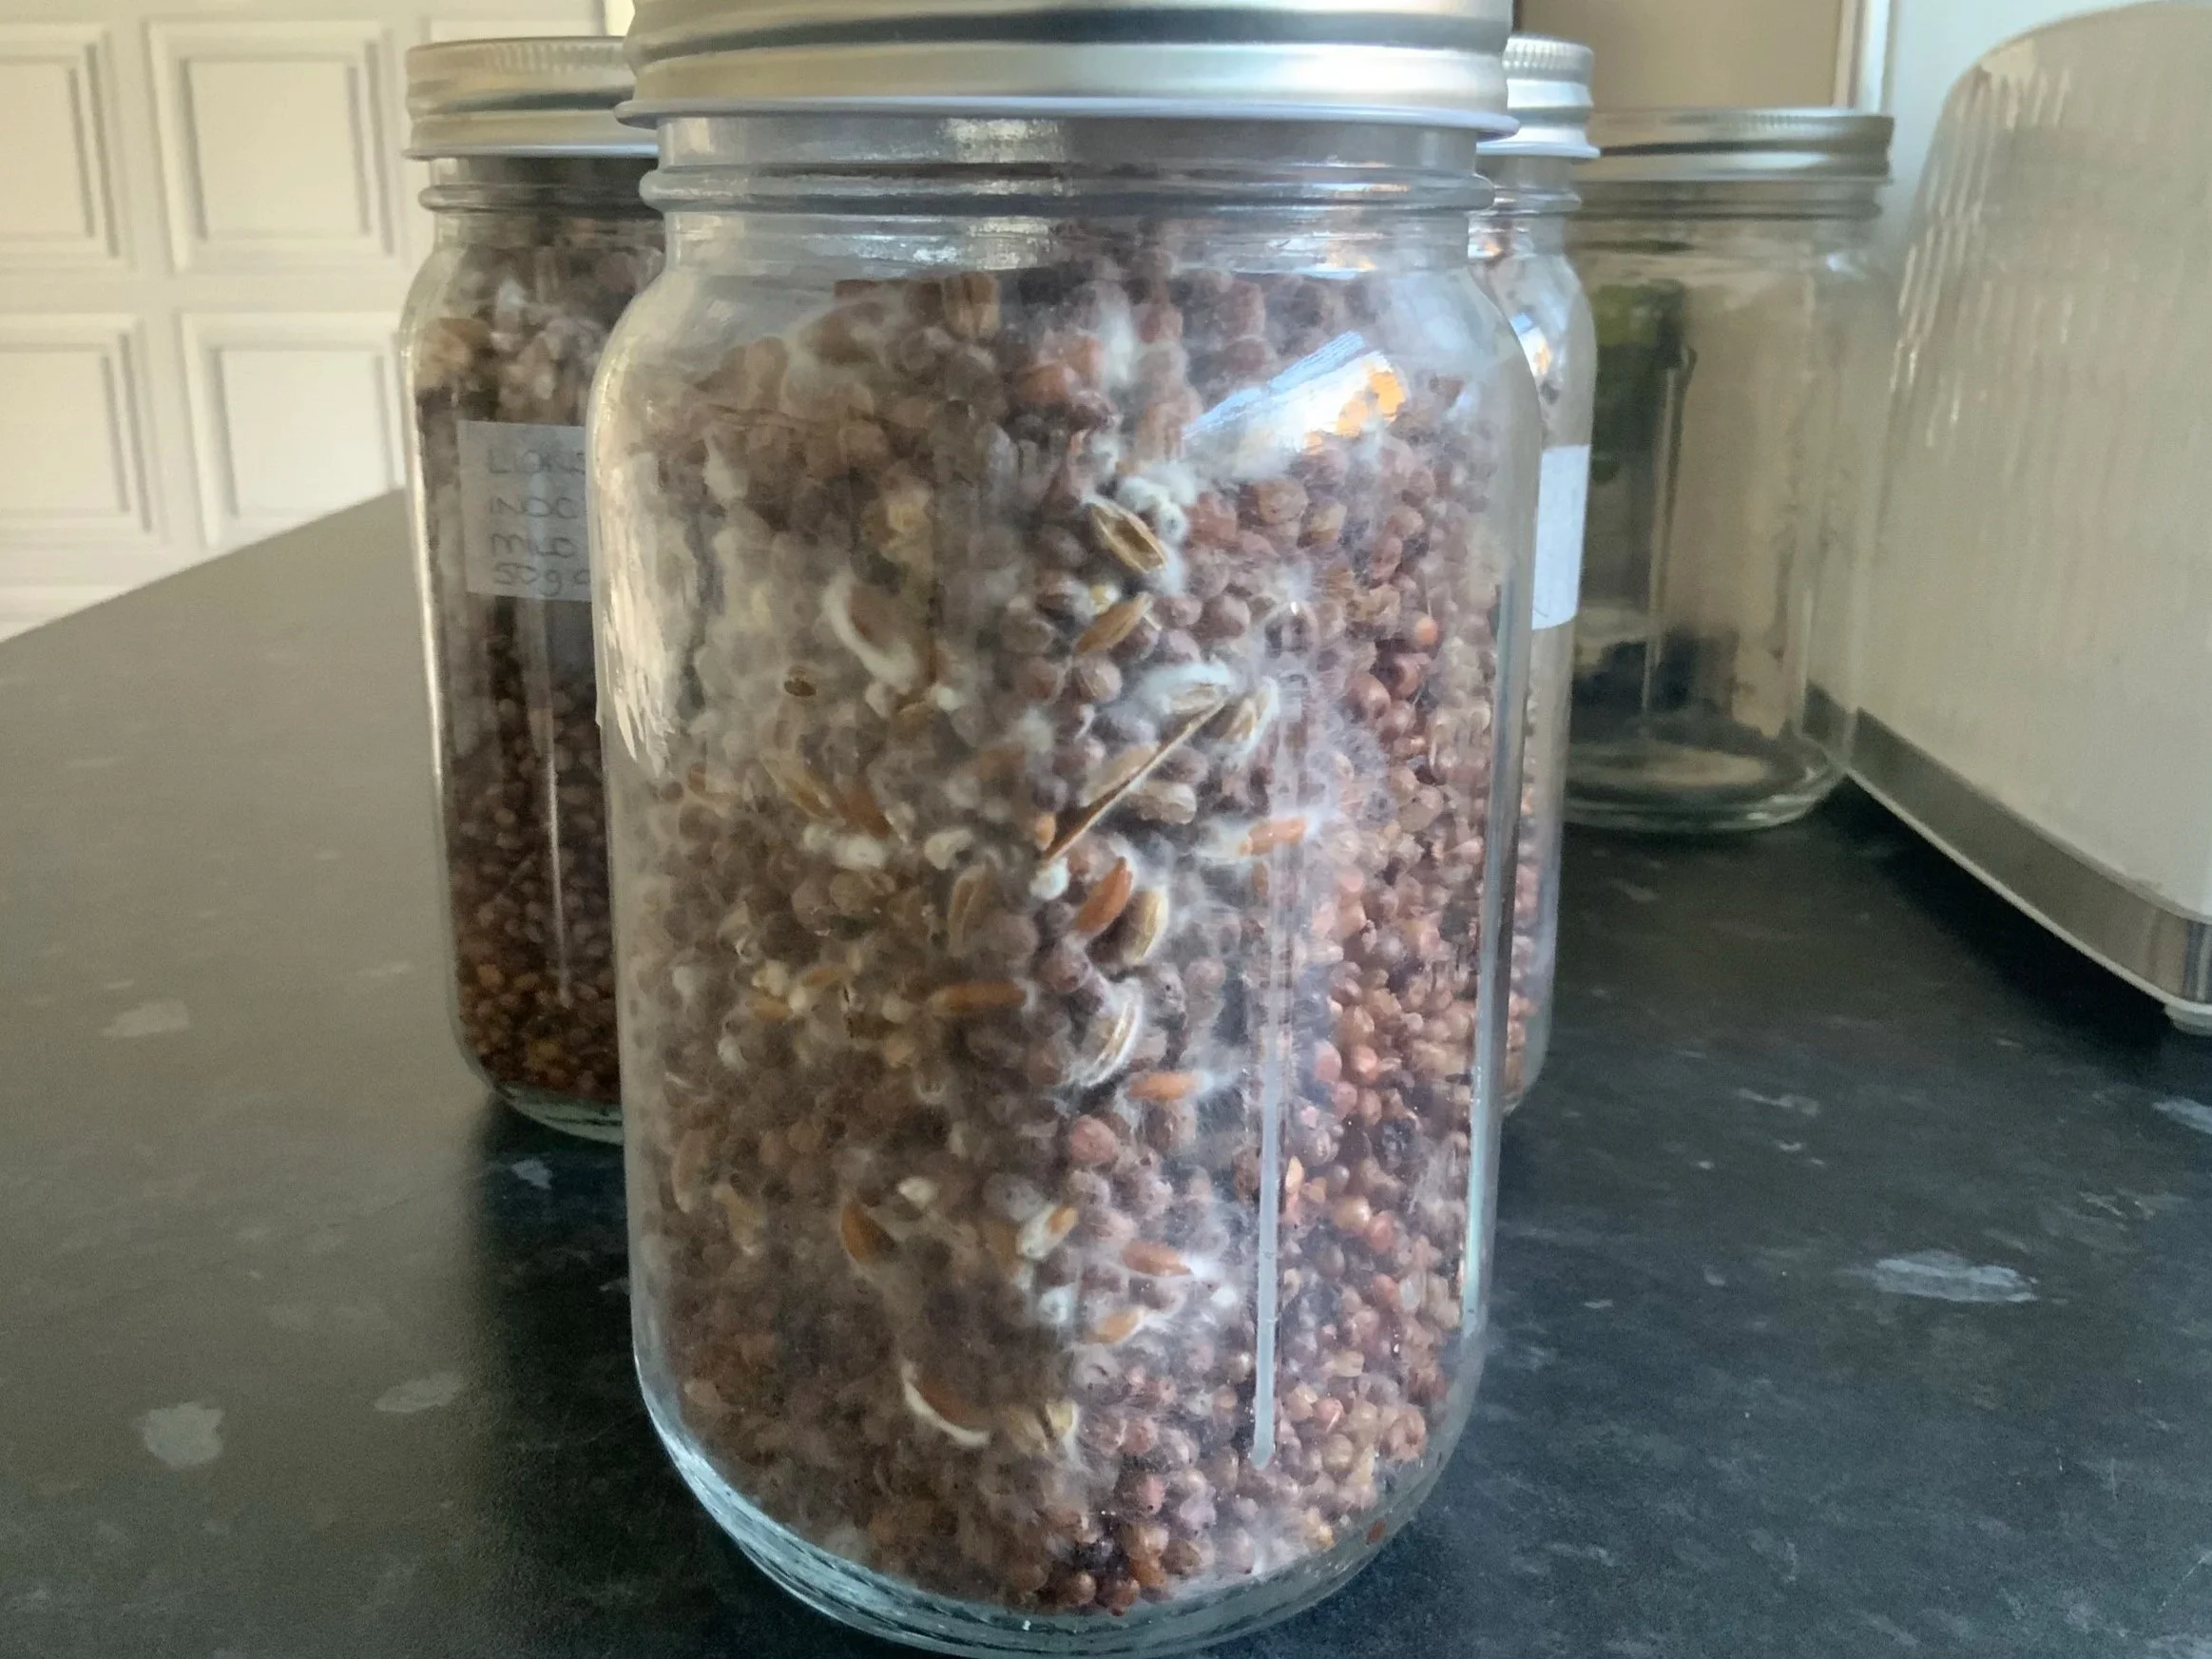
The side view of one of the jars containing the newly colonised grain spawn.
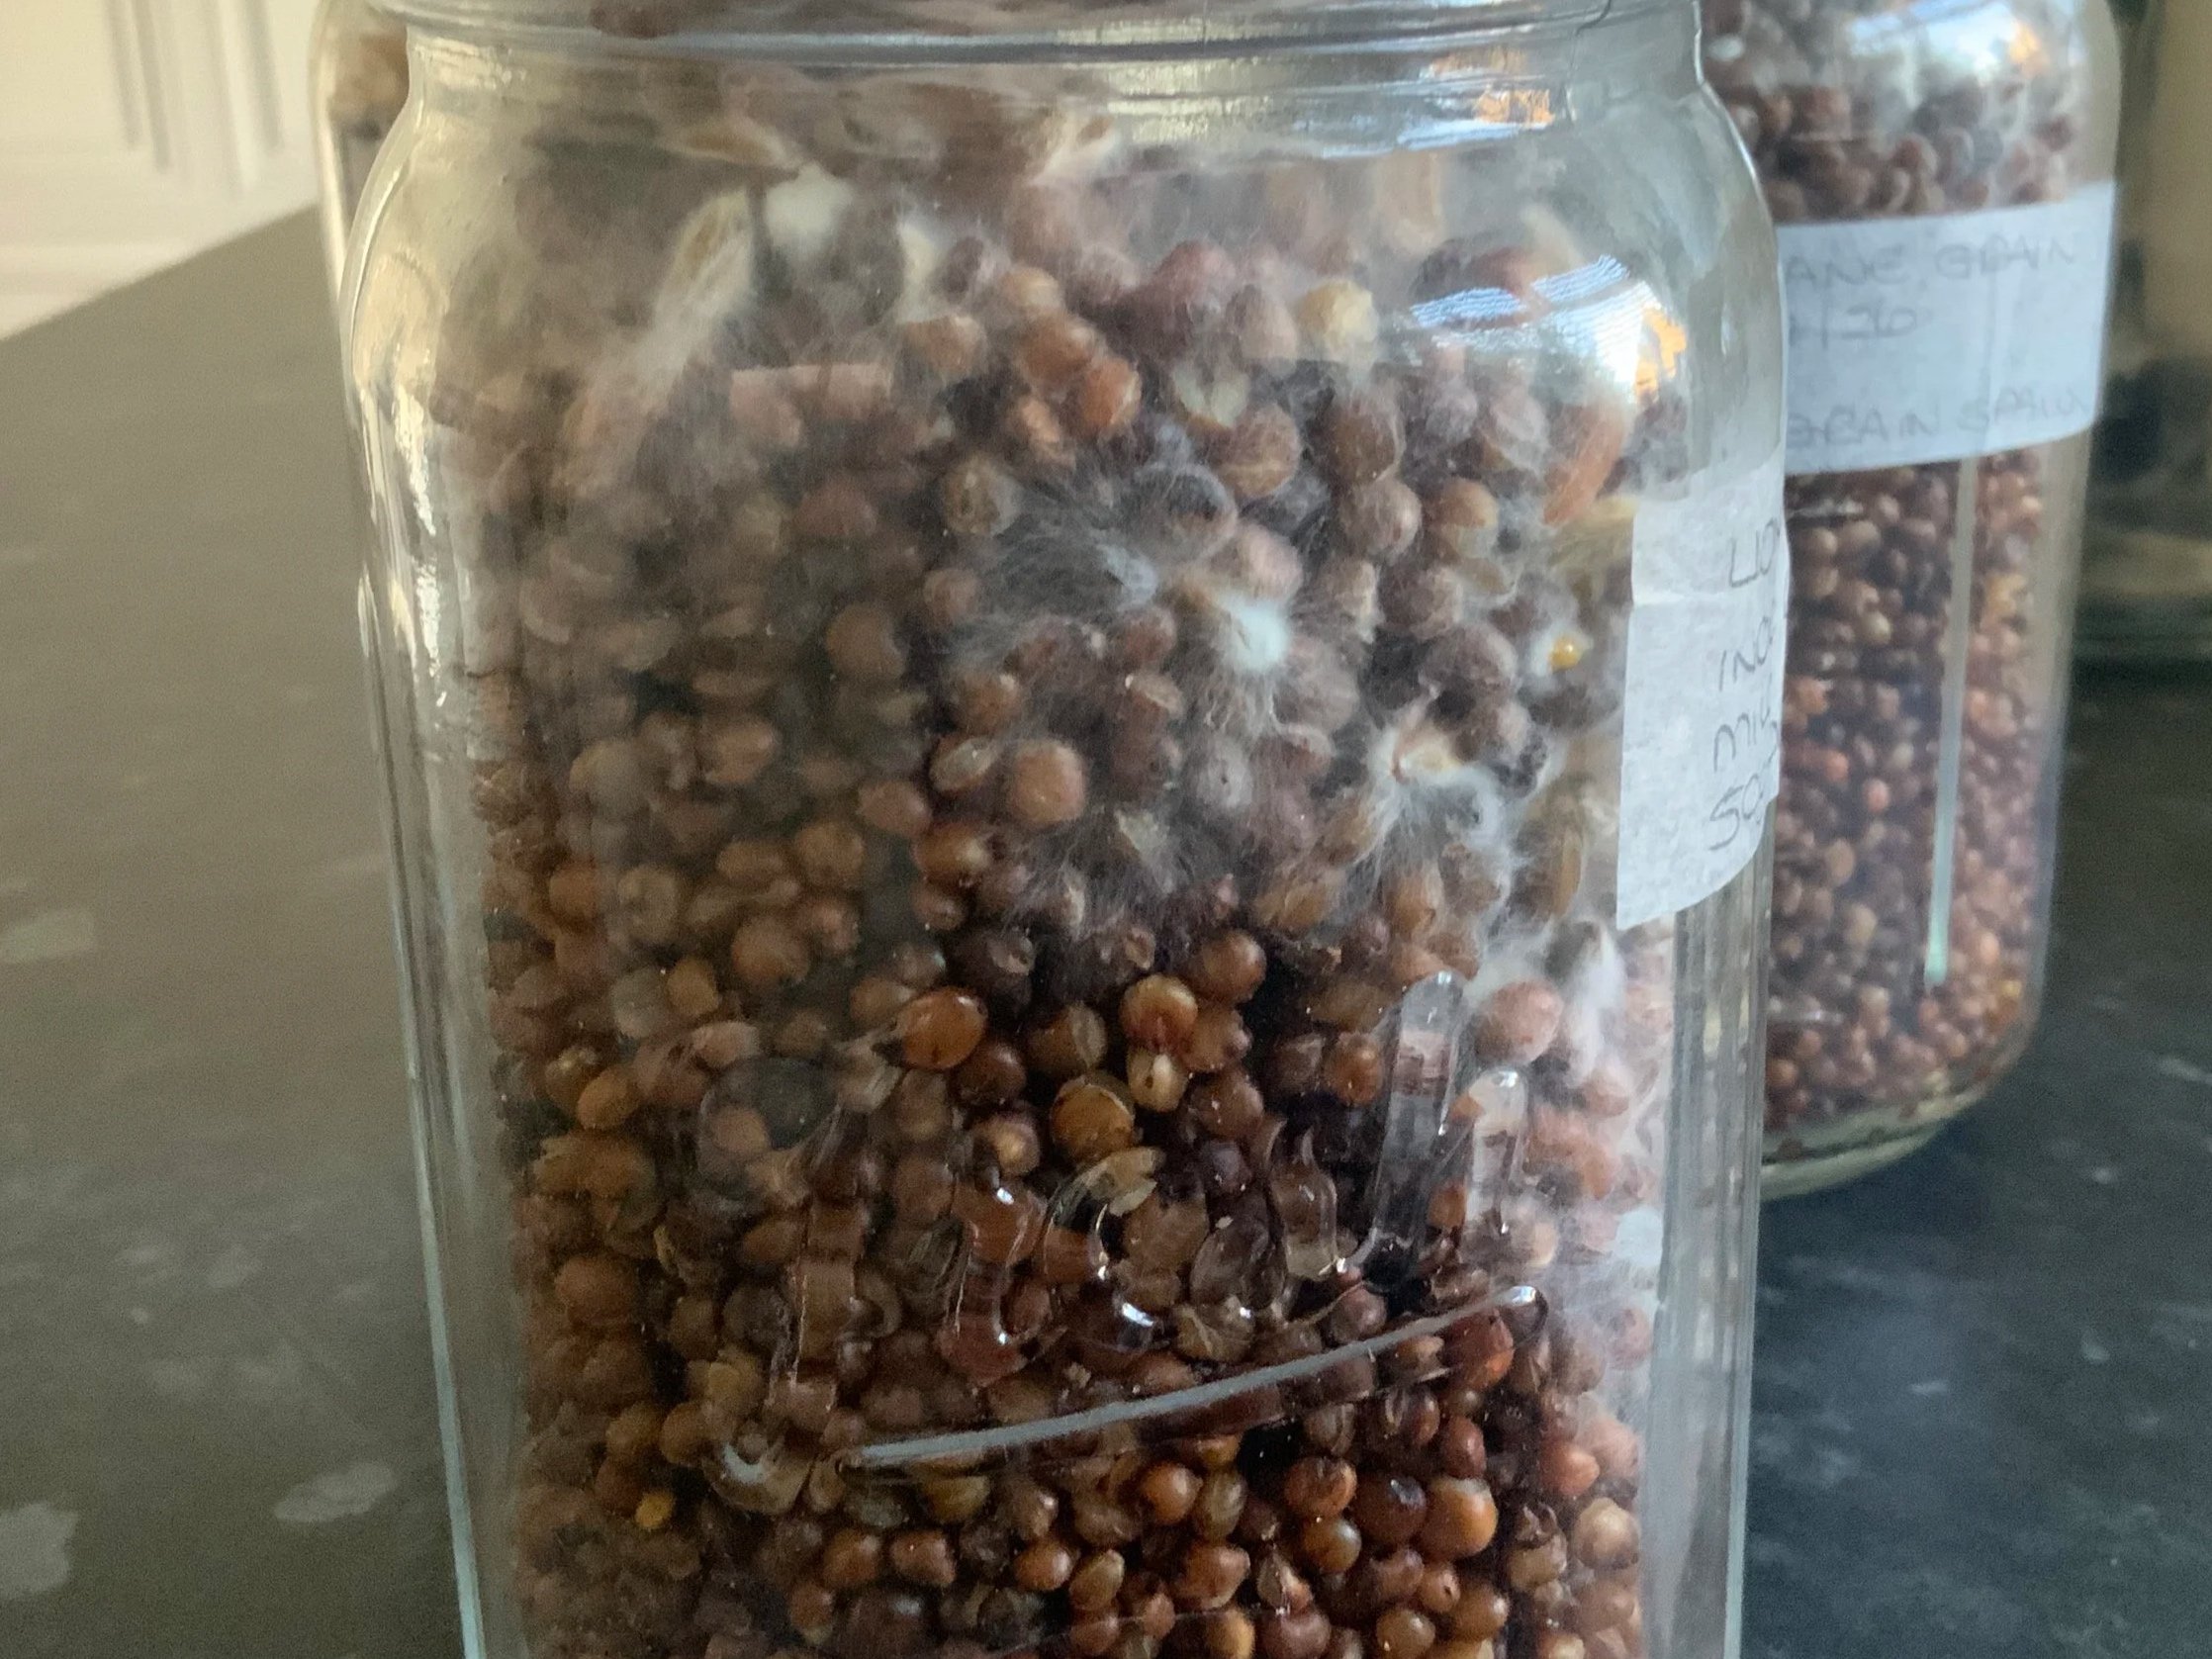
A close up of the mycelium at work.
What this lead to was a few more weeks of checking the jars each time I passed my pantry and thought to myself “well it would be inconsiderate not to check on them wouldn’t it.” It became a bit of an obsession, much to my partner’s amusement.
Each week there seemed to be more mycelium growing inside the jars and transforming the contents from brown mill grain to fluffy white mycelium.
Until…
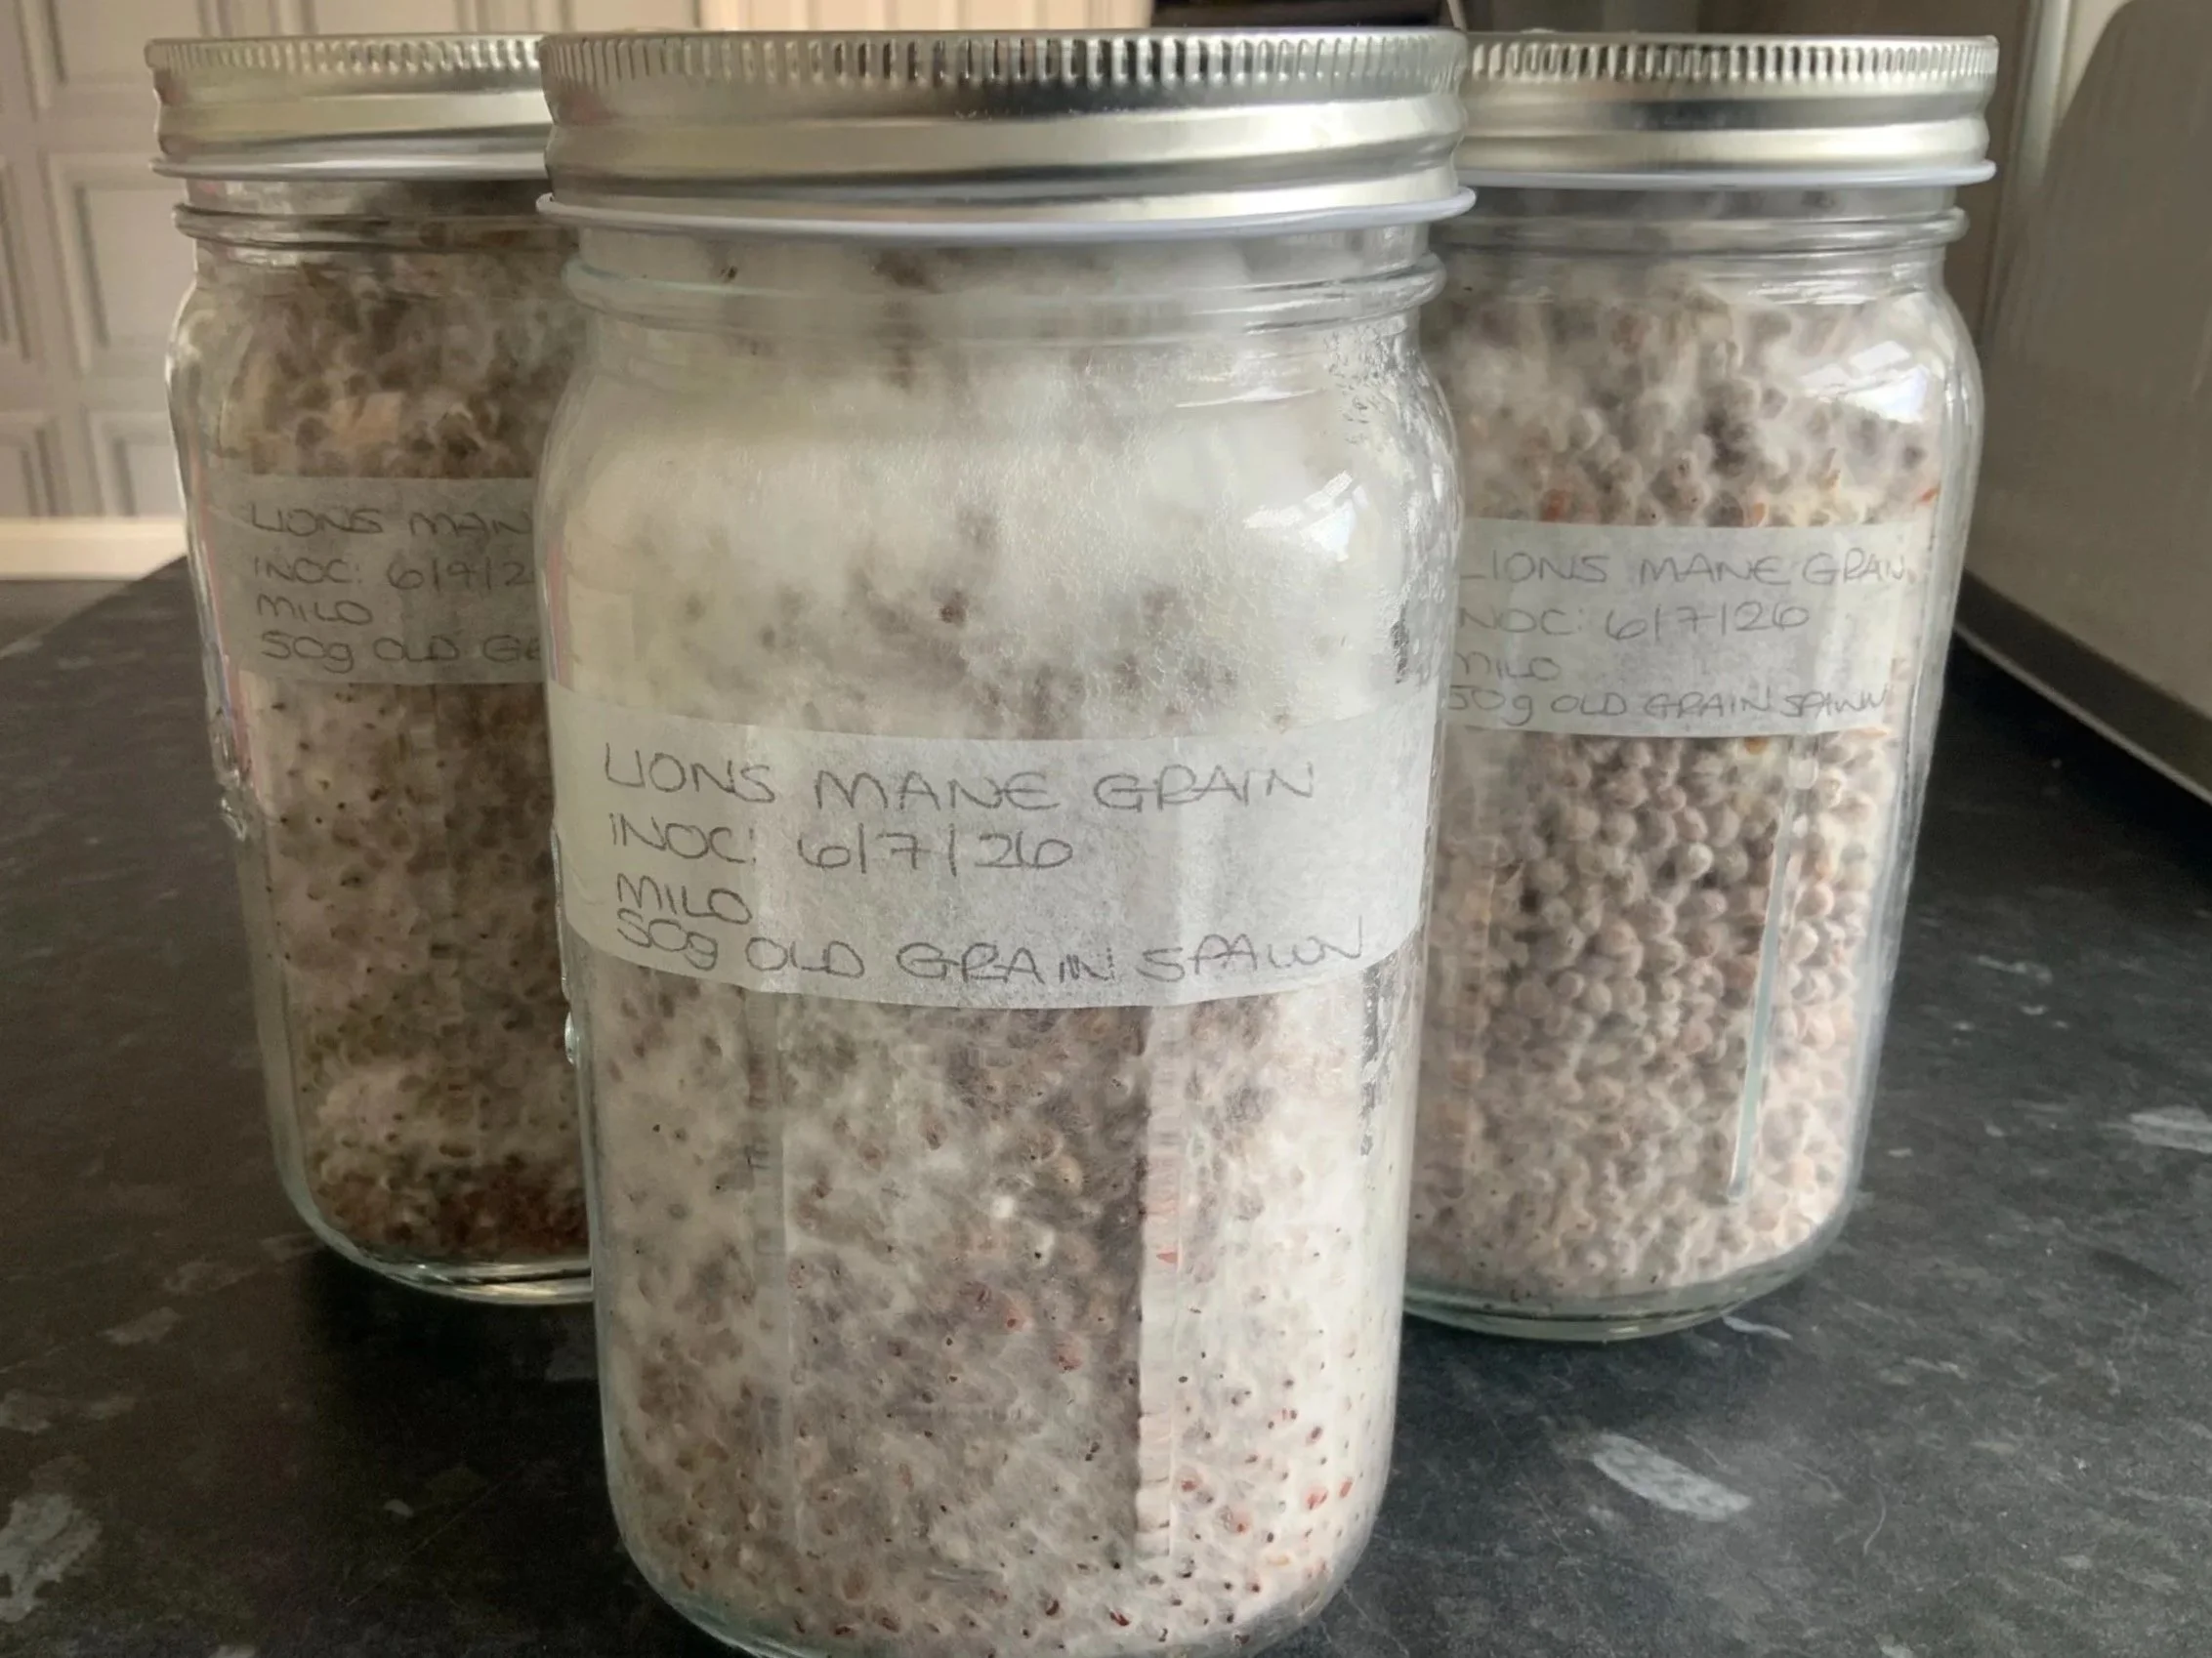
Mycelium on milo grain spawn one month after inoculation.
One month and 11 days later, I was greeted with this marvellous image. The mycelium had colonised the milo grains, especially in one of the jars which seemed a lot further ahead than the other 2, and looked like a spider has taken up residency, happily spinning and weaving its web silk in and around the grains.
After having a good check to make sure there wasn’t any green or black mould spores also present within the jars, I called this a success. I was absolutely thrilled.
This means that I have 3 jars of new grain spawn that I can use to grow more mushrooms, without any additional cost.
Would I go through this process again? Absolutely, although I’d change a few things along the way.
Firstly, I’d soak, hydrate and sterilised more jars at the same time to make it worth the time and effort to go through the stages. 3 jars of new grain spawn is great but to make it more efficient, I’d definitely ensure that more jars were available and I’d inoculate different varieties at the same time.
I’d also look to use slightly larger jars, so I’d be able to get the new grain spawn out without having to use an instrument to break it up - this increase the risk of adding contaminates to the jar, which is something I definitely want to avoid.
I’d also leave more space within the jars to do a ‘shake and break which basically means I’d shake the jars up when the mycelium had colonised 2/3 of the grains, meaning that the remainder of the grains would be colonised faster than leaving them alone. Is this step necessary? No, it isn’t but I’m also conscious that this is going to be a big of a task getting the grain spawn out of the jar when it is packed so full of new grain spawn.
All in all, this was a great ‘experiment’ and one I will repeat in the future, albeit with a few minor adjustments.
