
Making home-made grain spawn
I’ve been growing mushrooms for a while now and have developed what, so far, is a stable process that results in decent harvests of Oyster, Lion’s Mane and King Oyster mushrooms.
But there comes a time when growing mushrooms when you think to yourself “I wonder if I can cut costs and make my own grain spawn, rather than buying it in.” And this is what happened to me when I let my mind wander as I made up buckets of grain spawn and pasteurised straw.
So I decided to give it a go and see whether this is something I could realistically do for myself over the coming months.
Read along to see the process I went through in order to make 3 jars of homemade grain spawn.
Buying the right type of grain
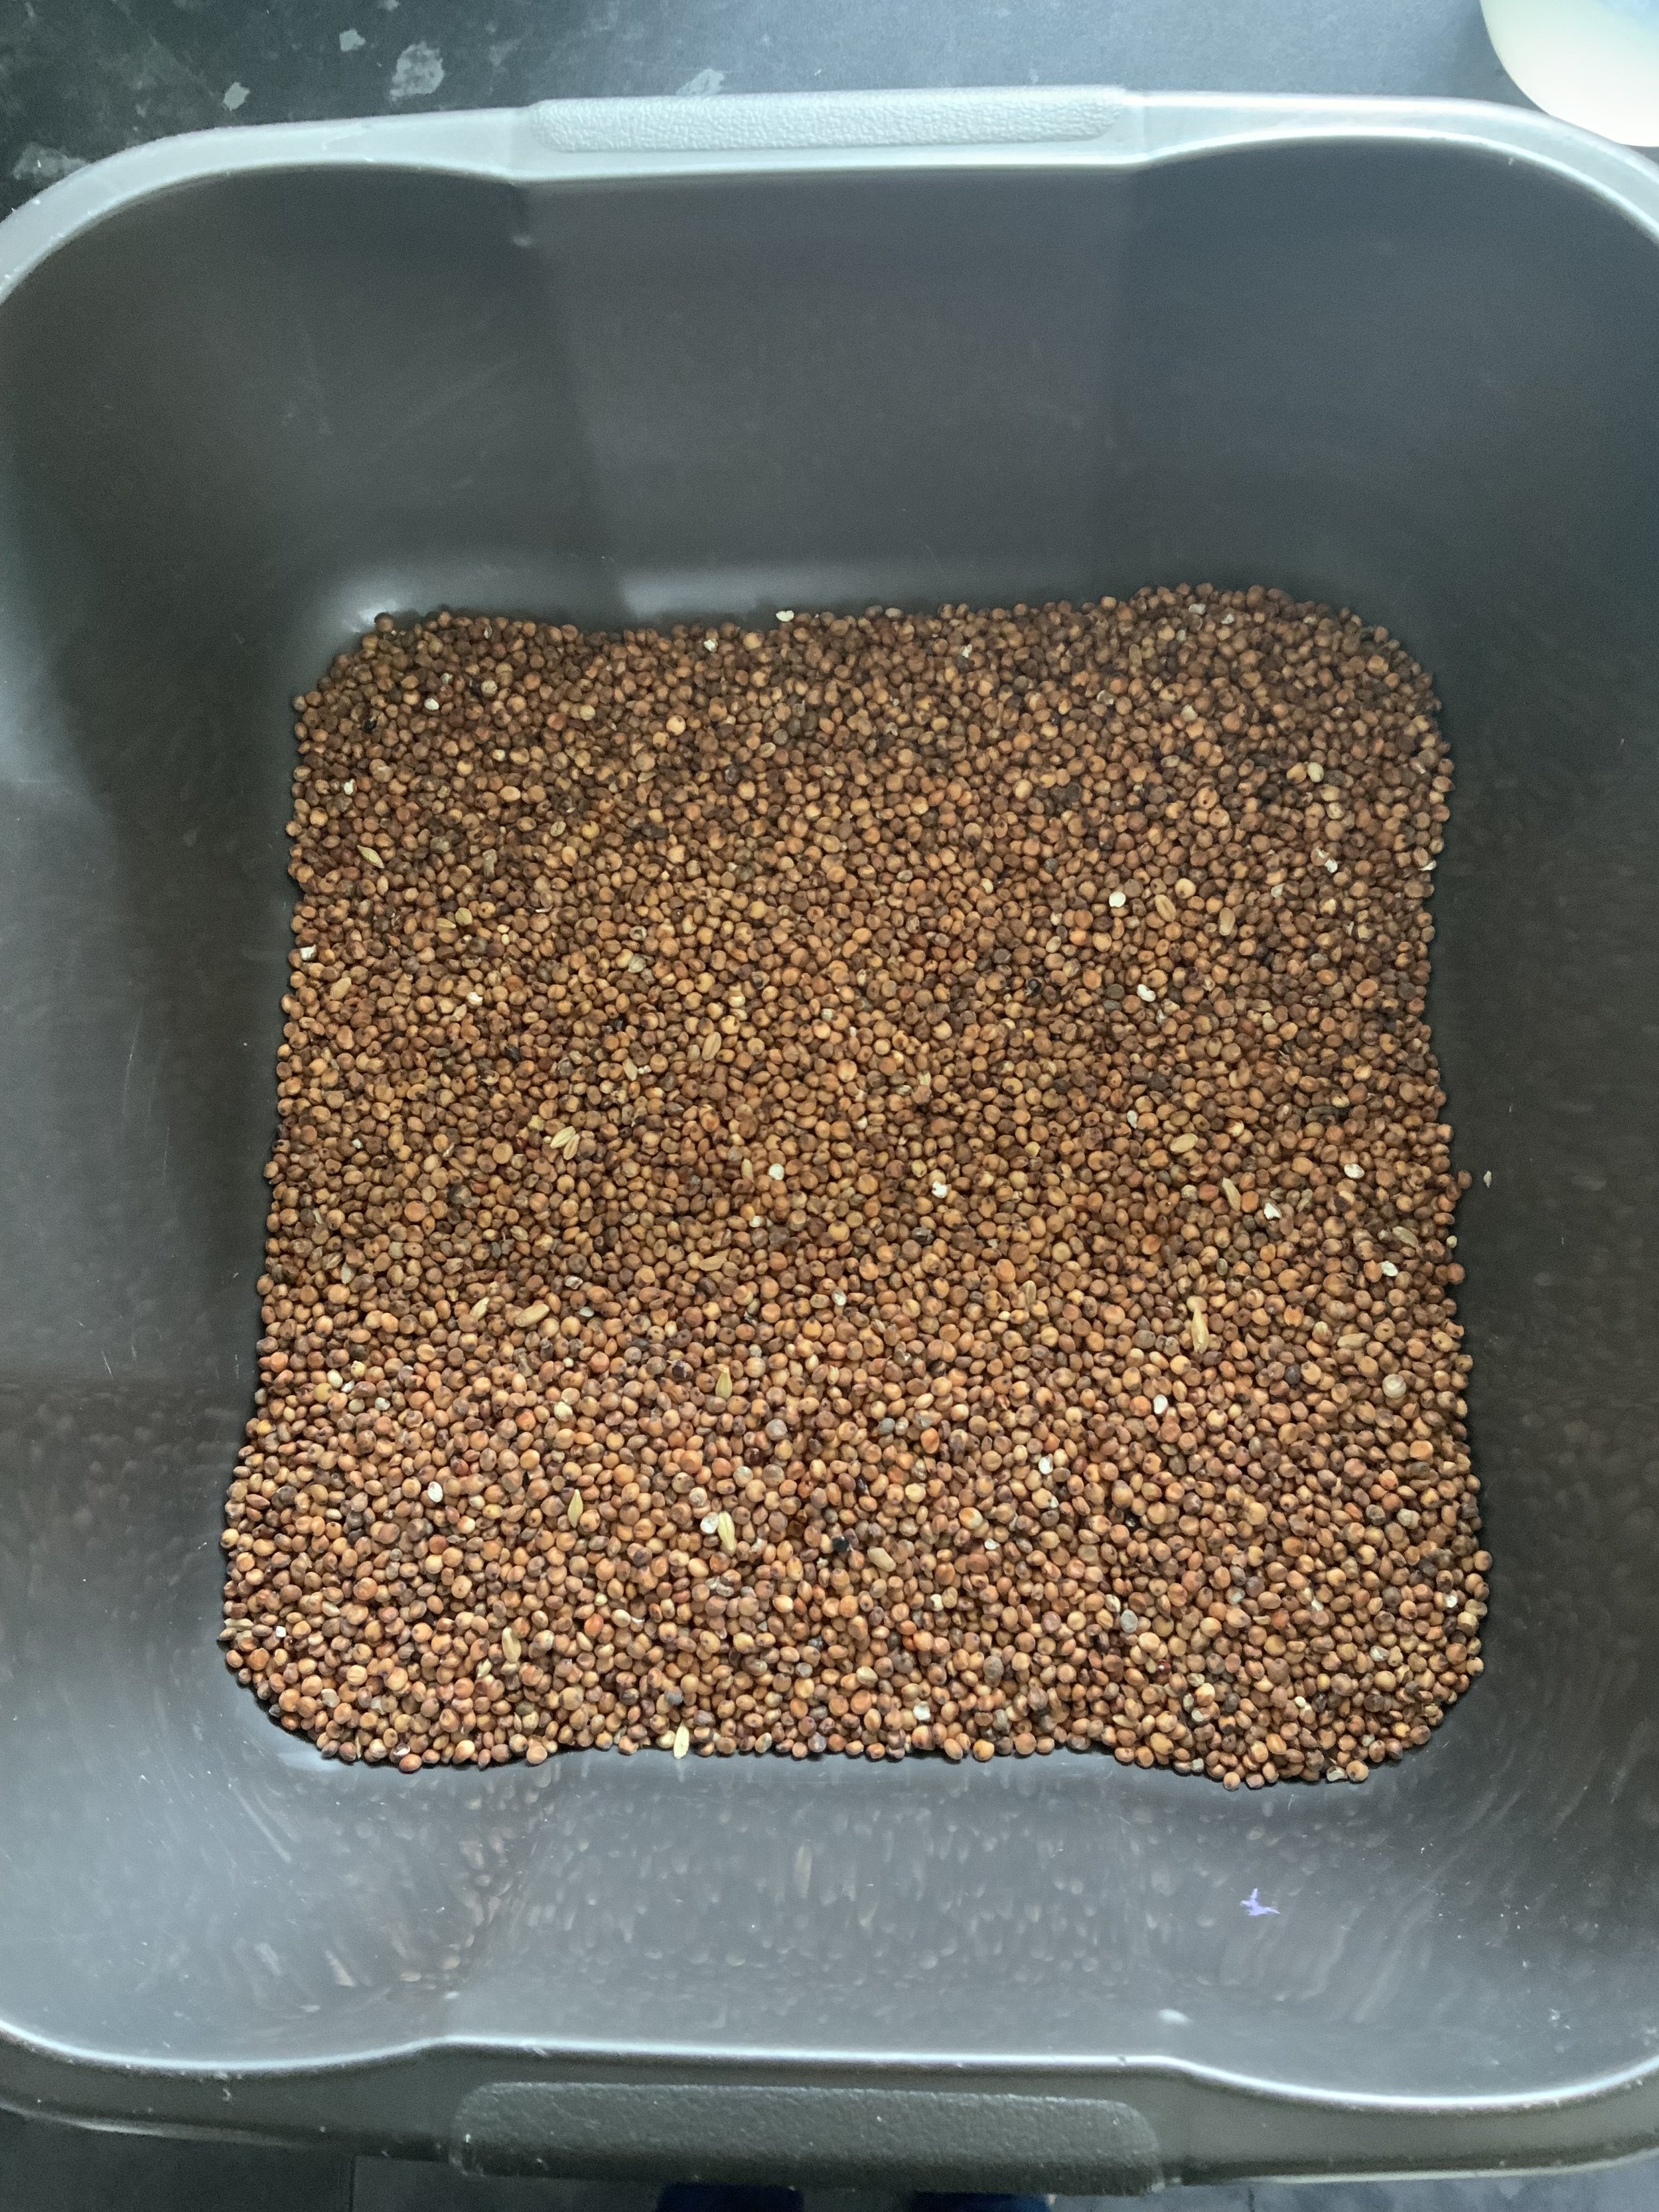
The start of the process is to use the right kind of grain that doesn’t get too mushy throughout the process, whilst maintaining a level of hydration and allows the mycelium to eat/ colonise through the grain before any mould spores have a chance to take over.
After researching a range of different grains that are suited to this process, I settled on milo, also known as sorghum, but you could use popcorn kernels, barley, wheat, brown rice, wild bird seed, millet and rye. Each one has its own qualities and I’ll delve into this in another blog entry, as it’ll be a long one!
I used 1kg of dry milo and placed it in a medium sized plastic container which could accommodate the water I’d add in the next stage.
Soaking the grain
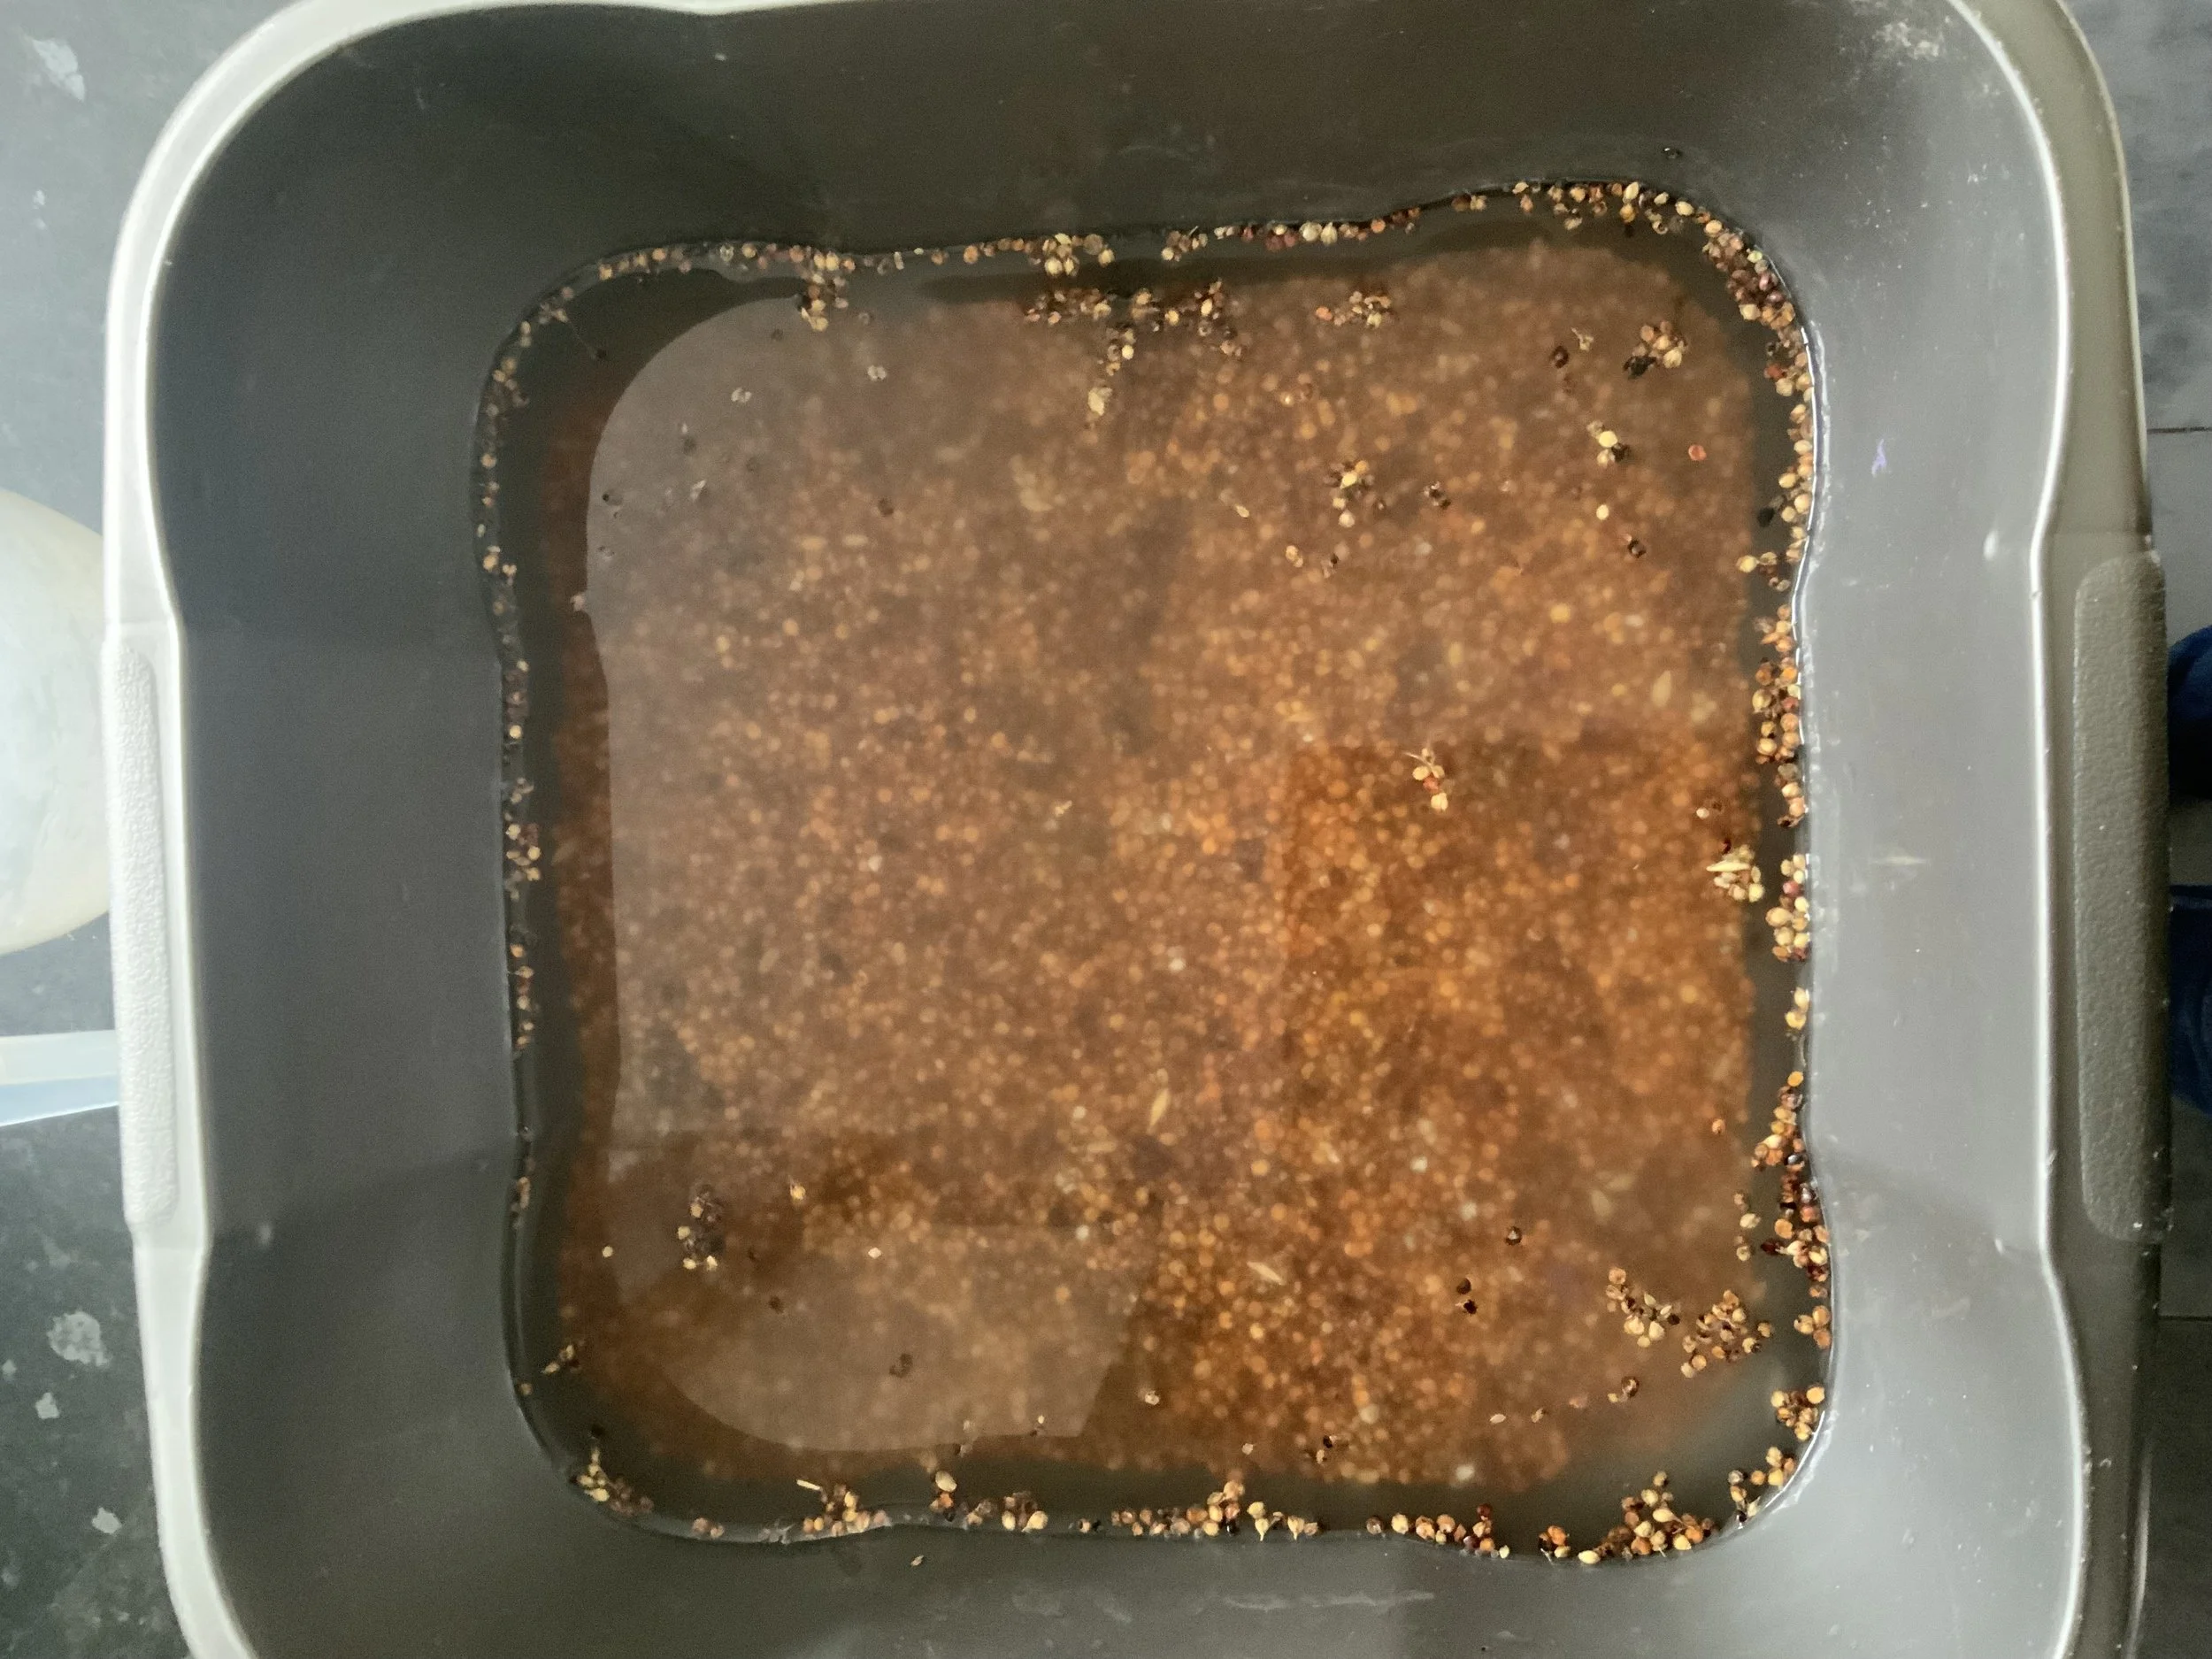
I added 3 litres of water to the container, covering the milo and allowing enough space for each grain to swell with hydration but not become mushy or too squishy.
And then I left it for 12-24 hours. In my case , overnight.
Yes, you’re right, it is a long process.
Simmering the soaked grain
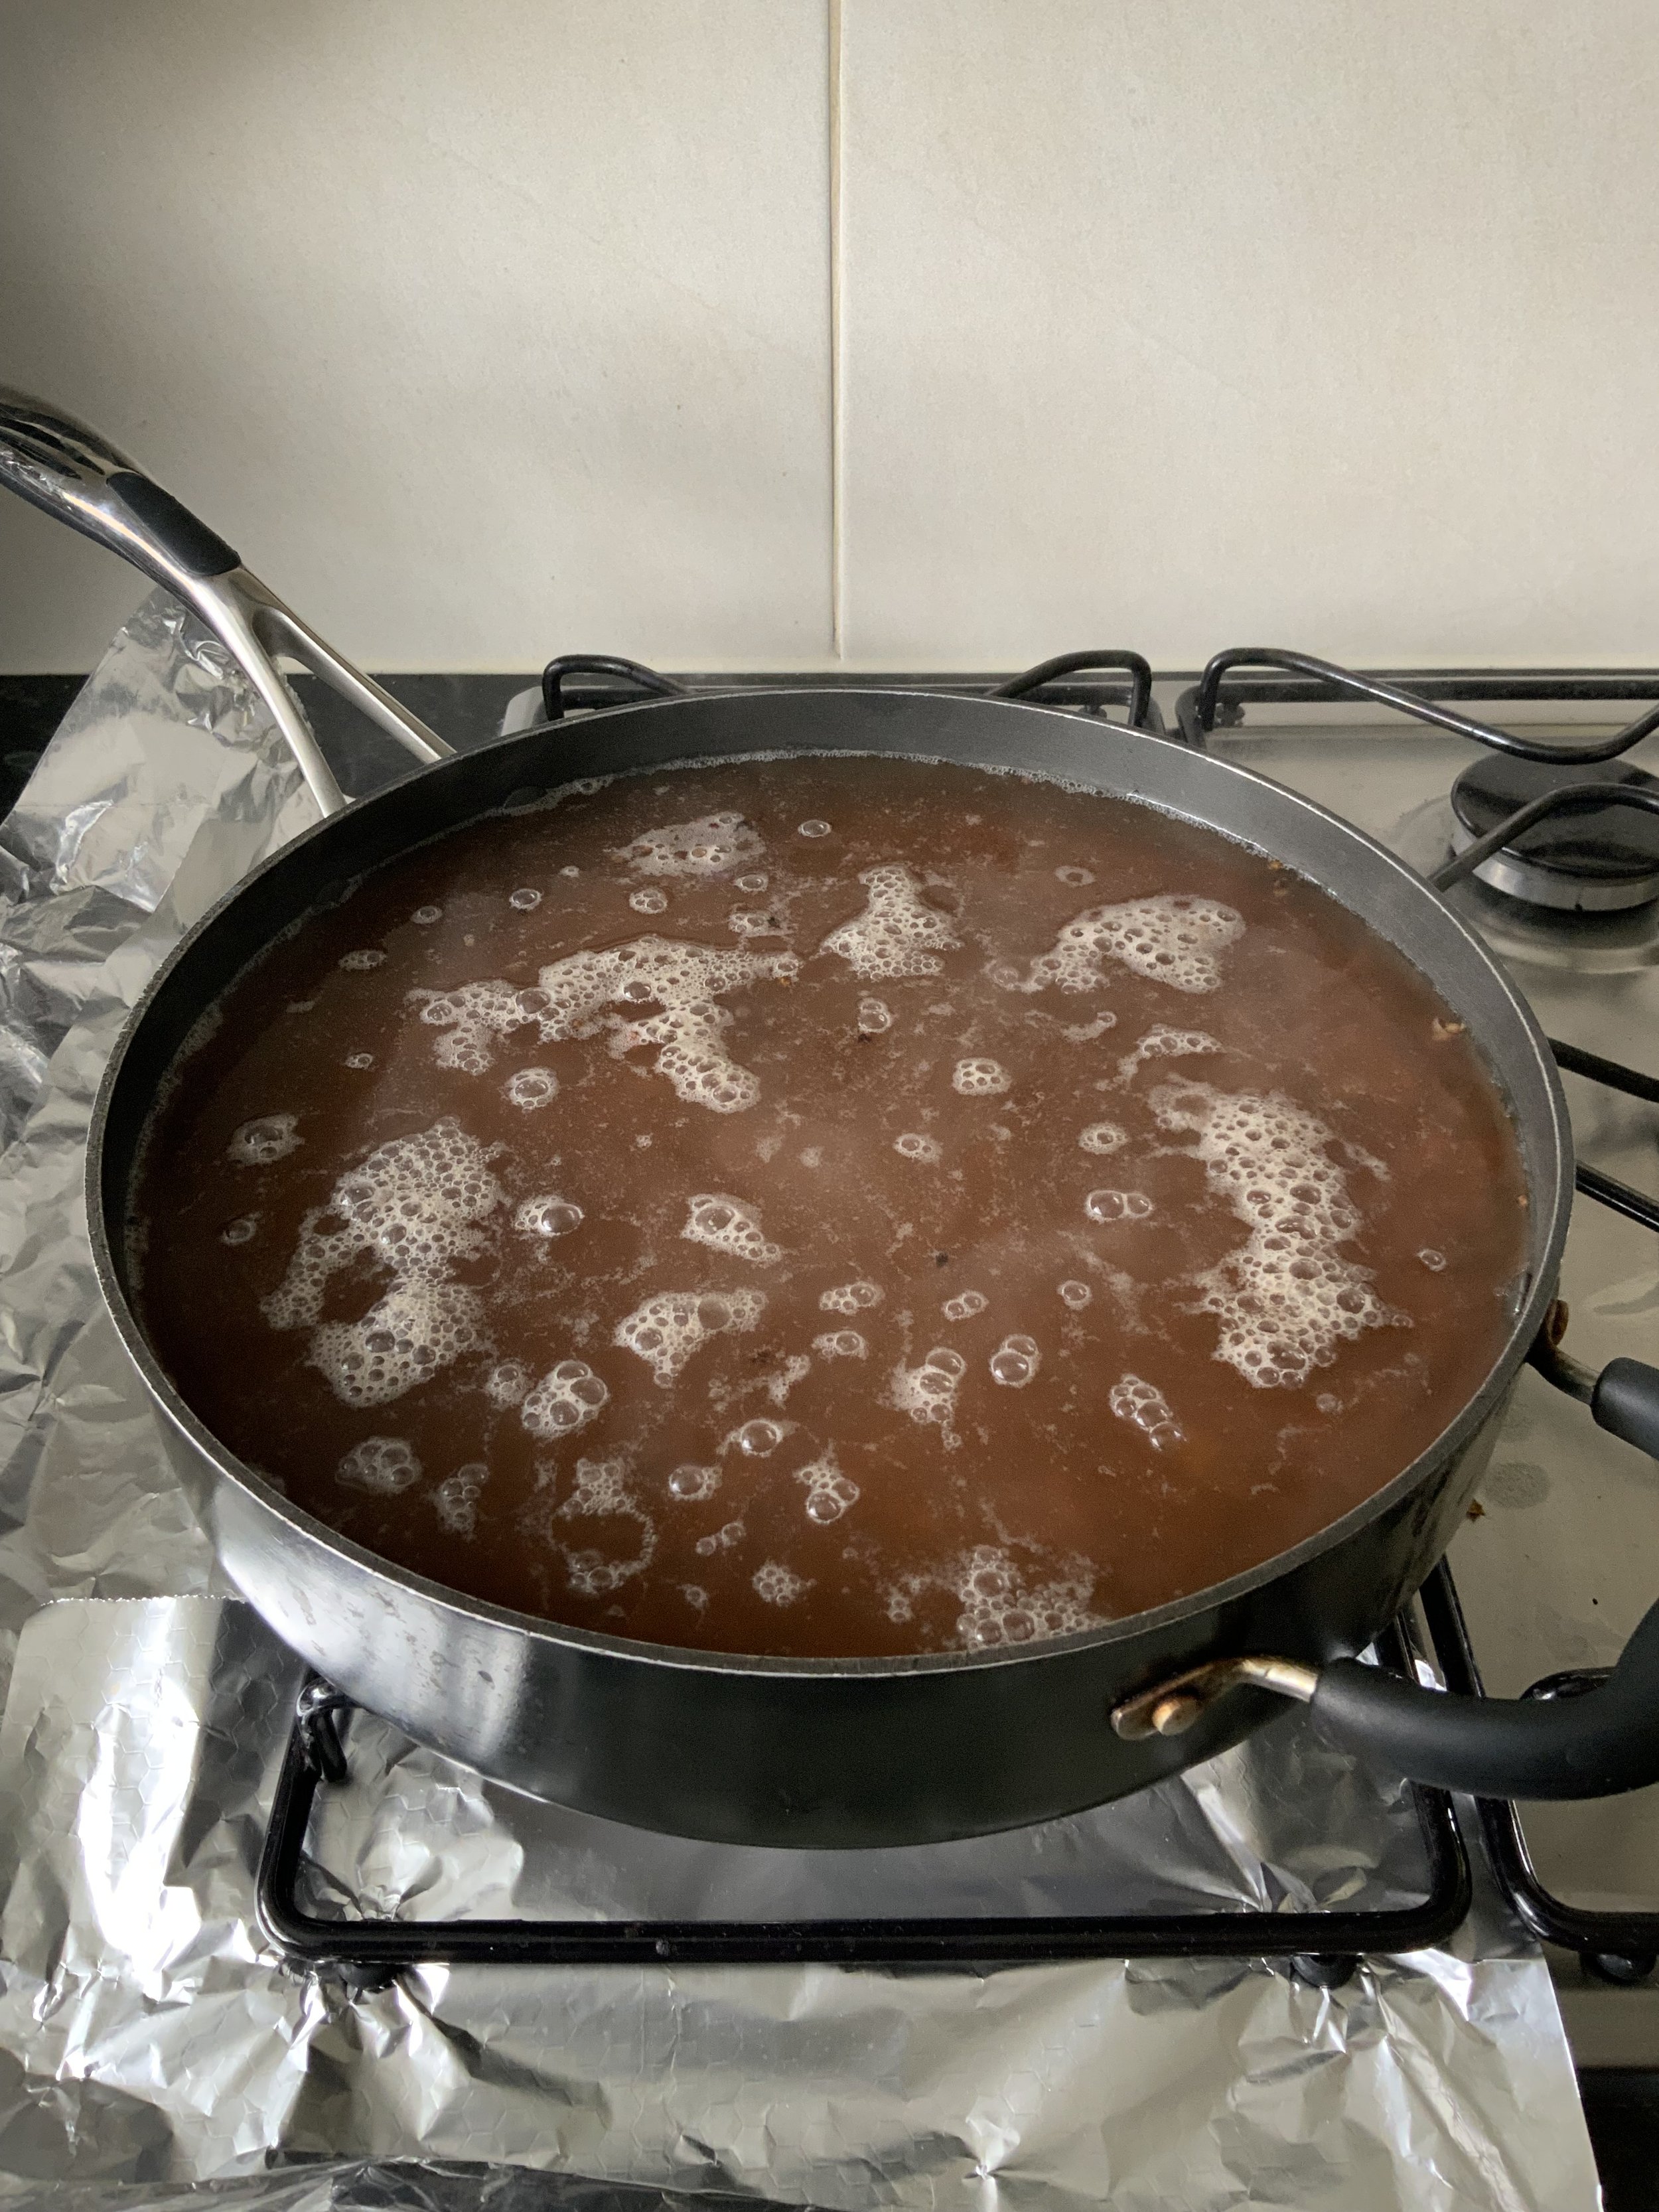
After a night of the grain settling into the water and soaking up as much water as possible, I then moved the grain and water to a large saucepan and simmered it for 20 minutes to allow the grains to become easier for the mycelium to break and colonise in the later incubation stage.
This is a tricky stage; you don’t want to cook the grain so it becomes slushy and a gloopy mess. If this does happen, throw it away as it won’t be suitable for the mycelium, and start again.
But that’s the fun of the process, trying things out and making changes as you go along. Just pretend it’s a school science project.
Drain the grain
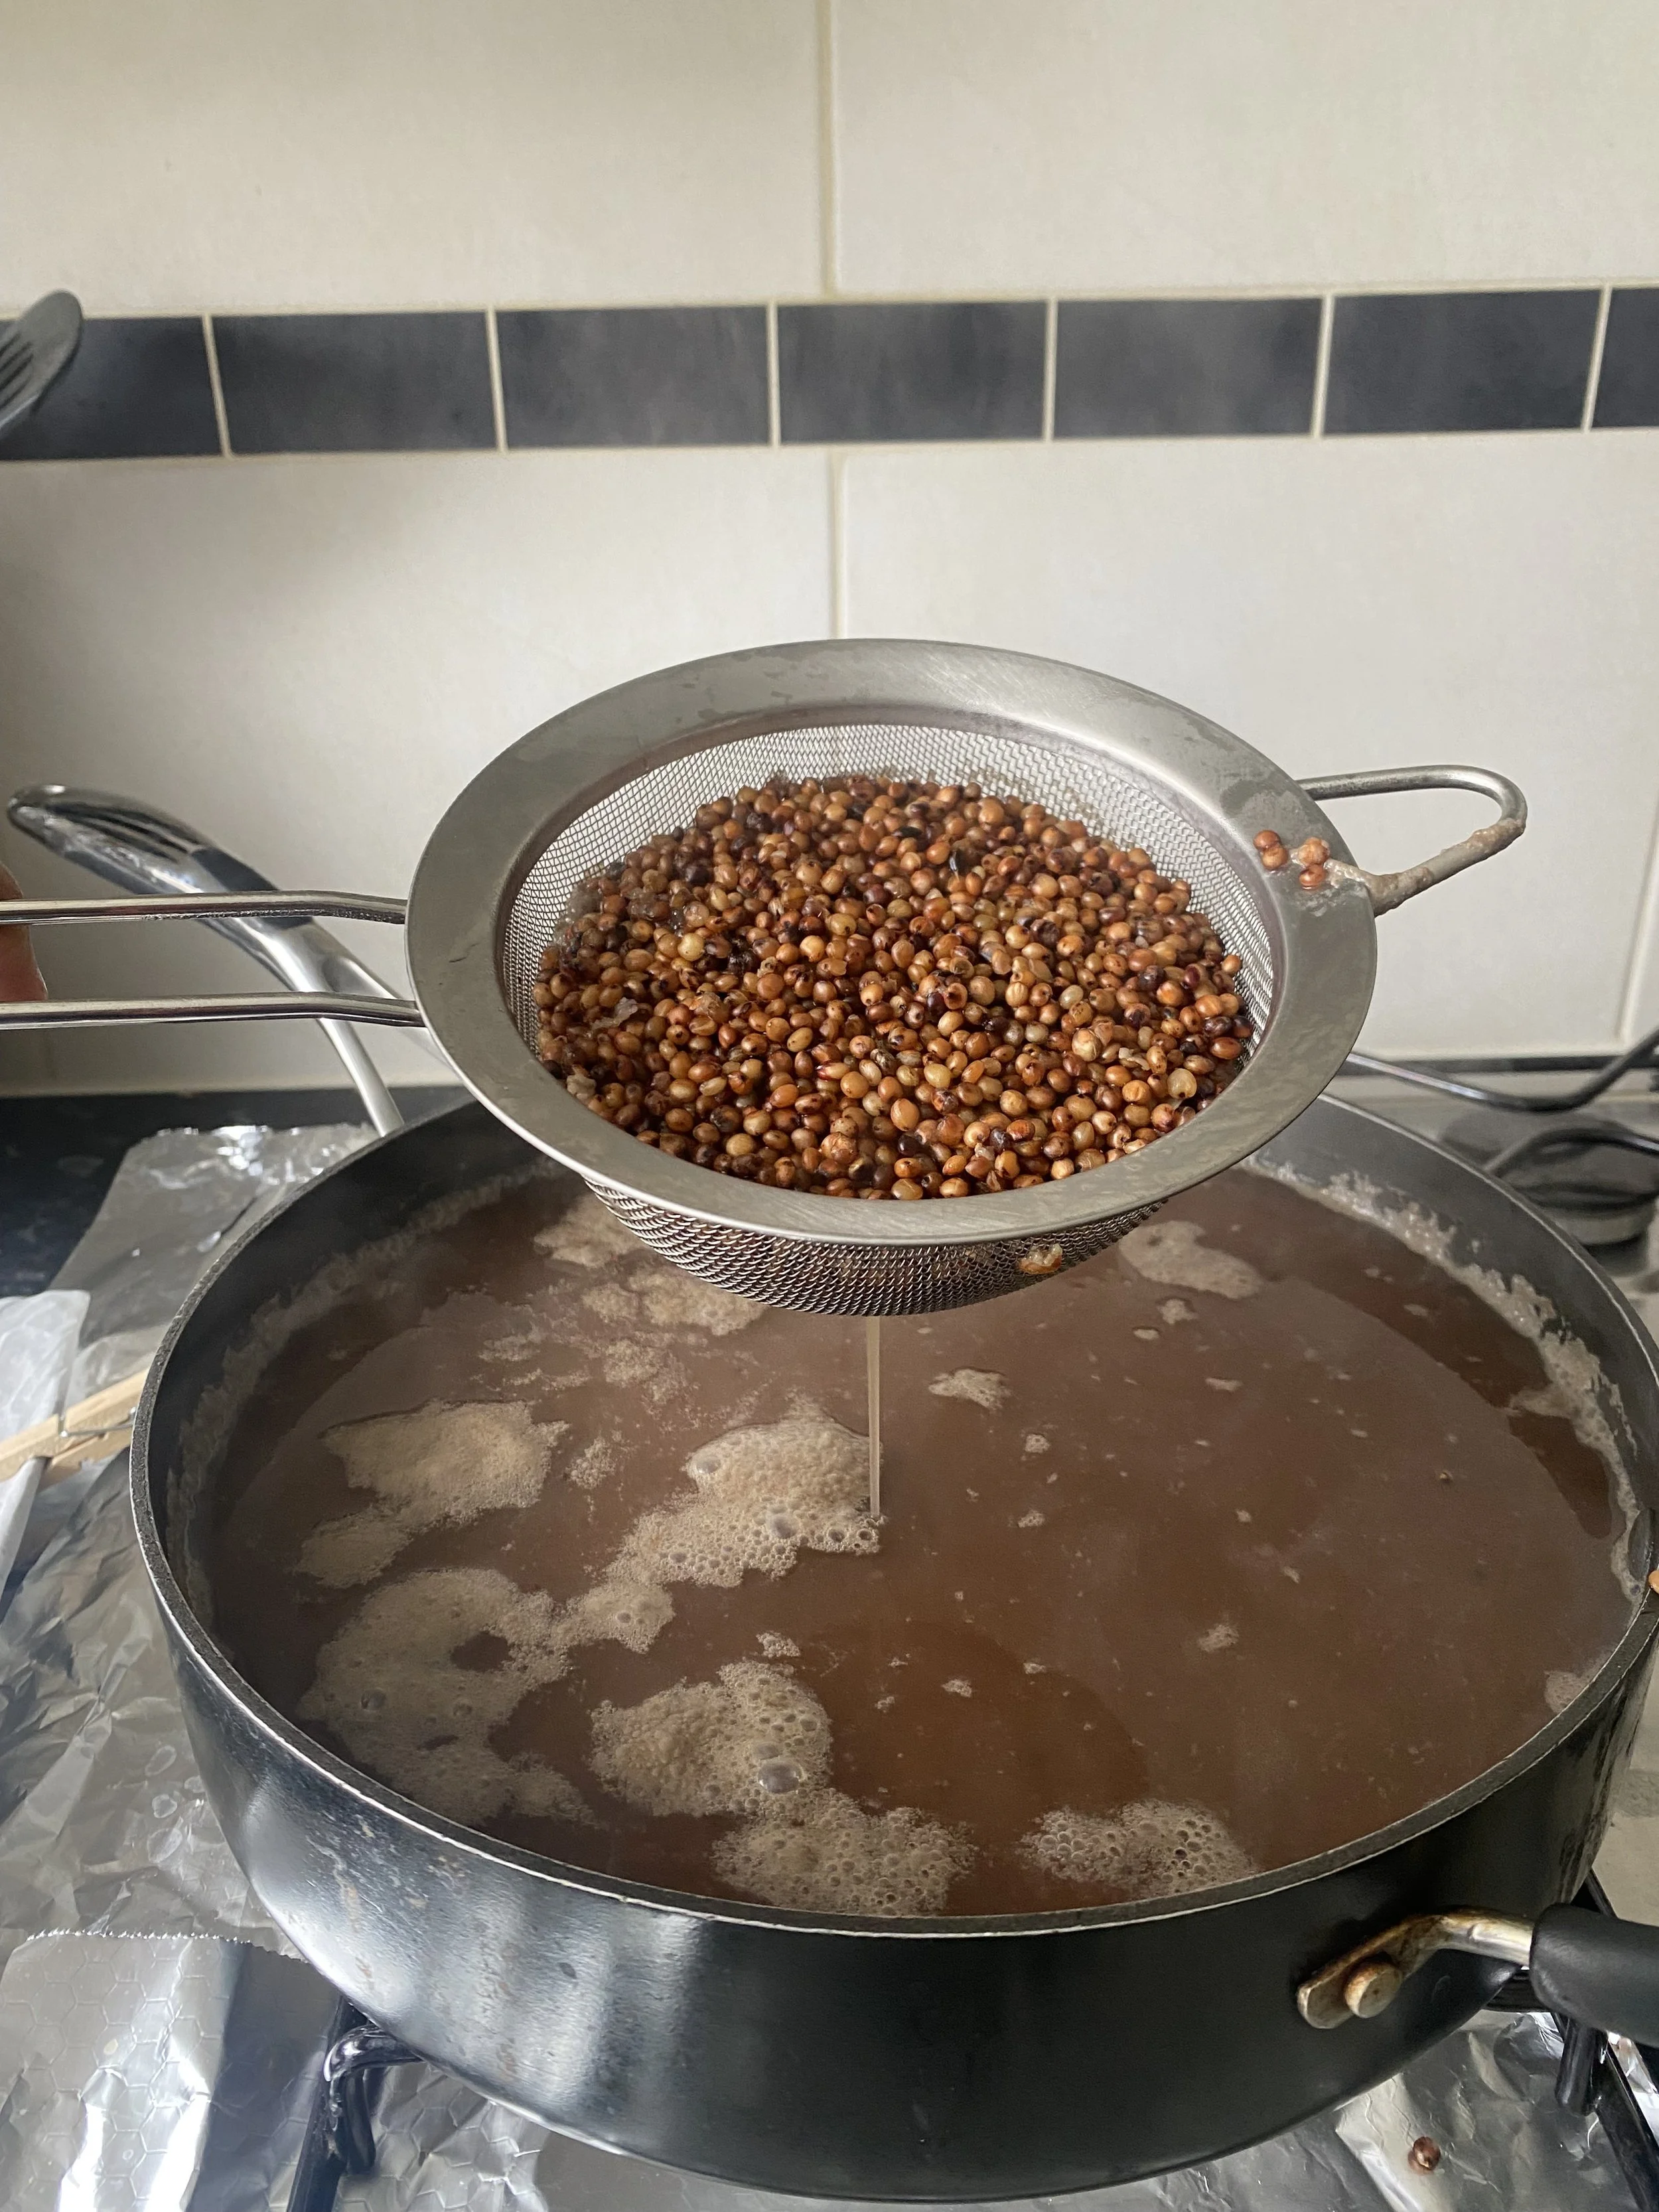
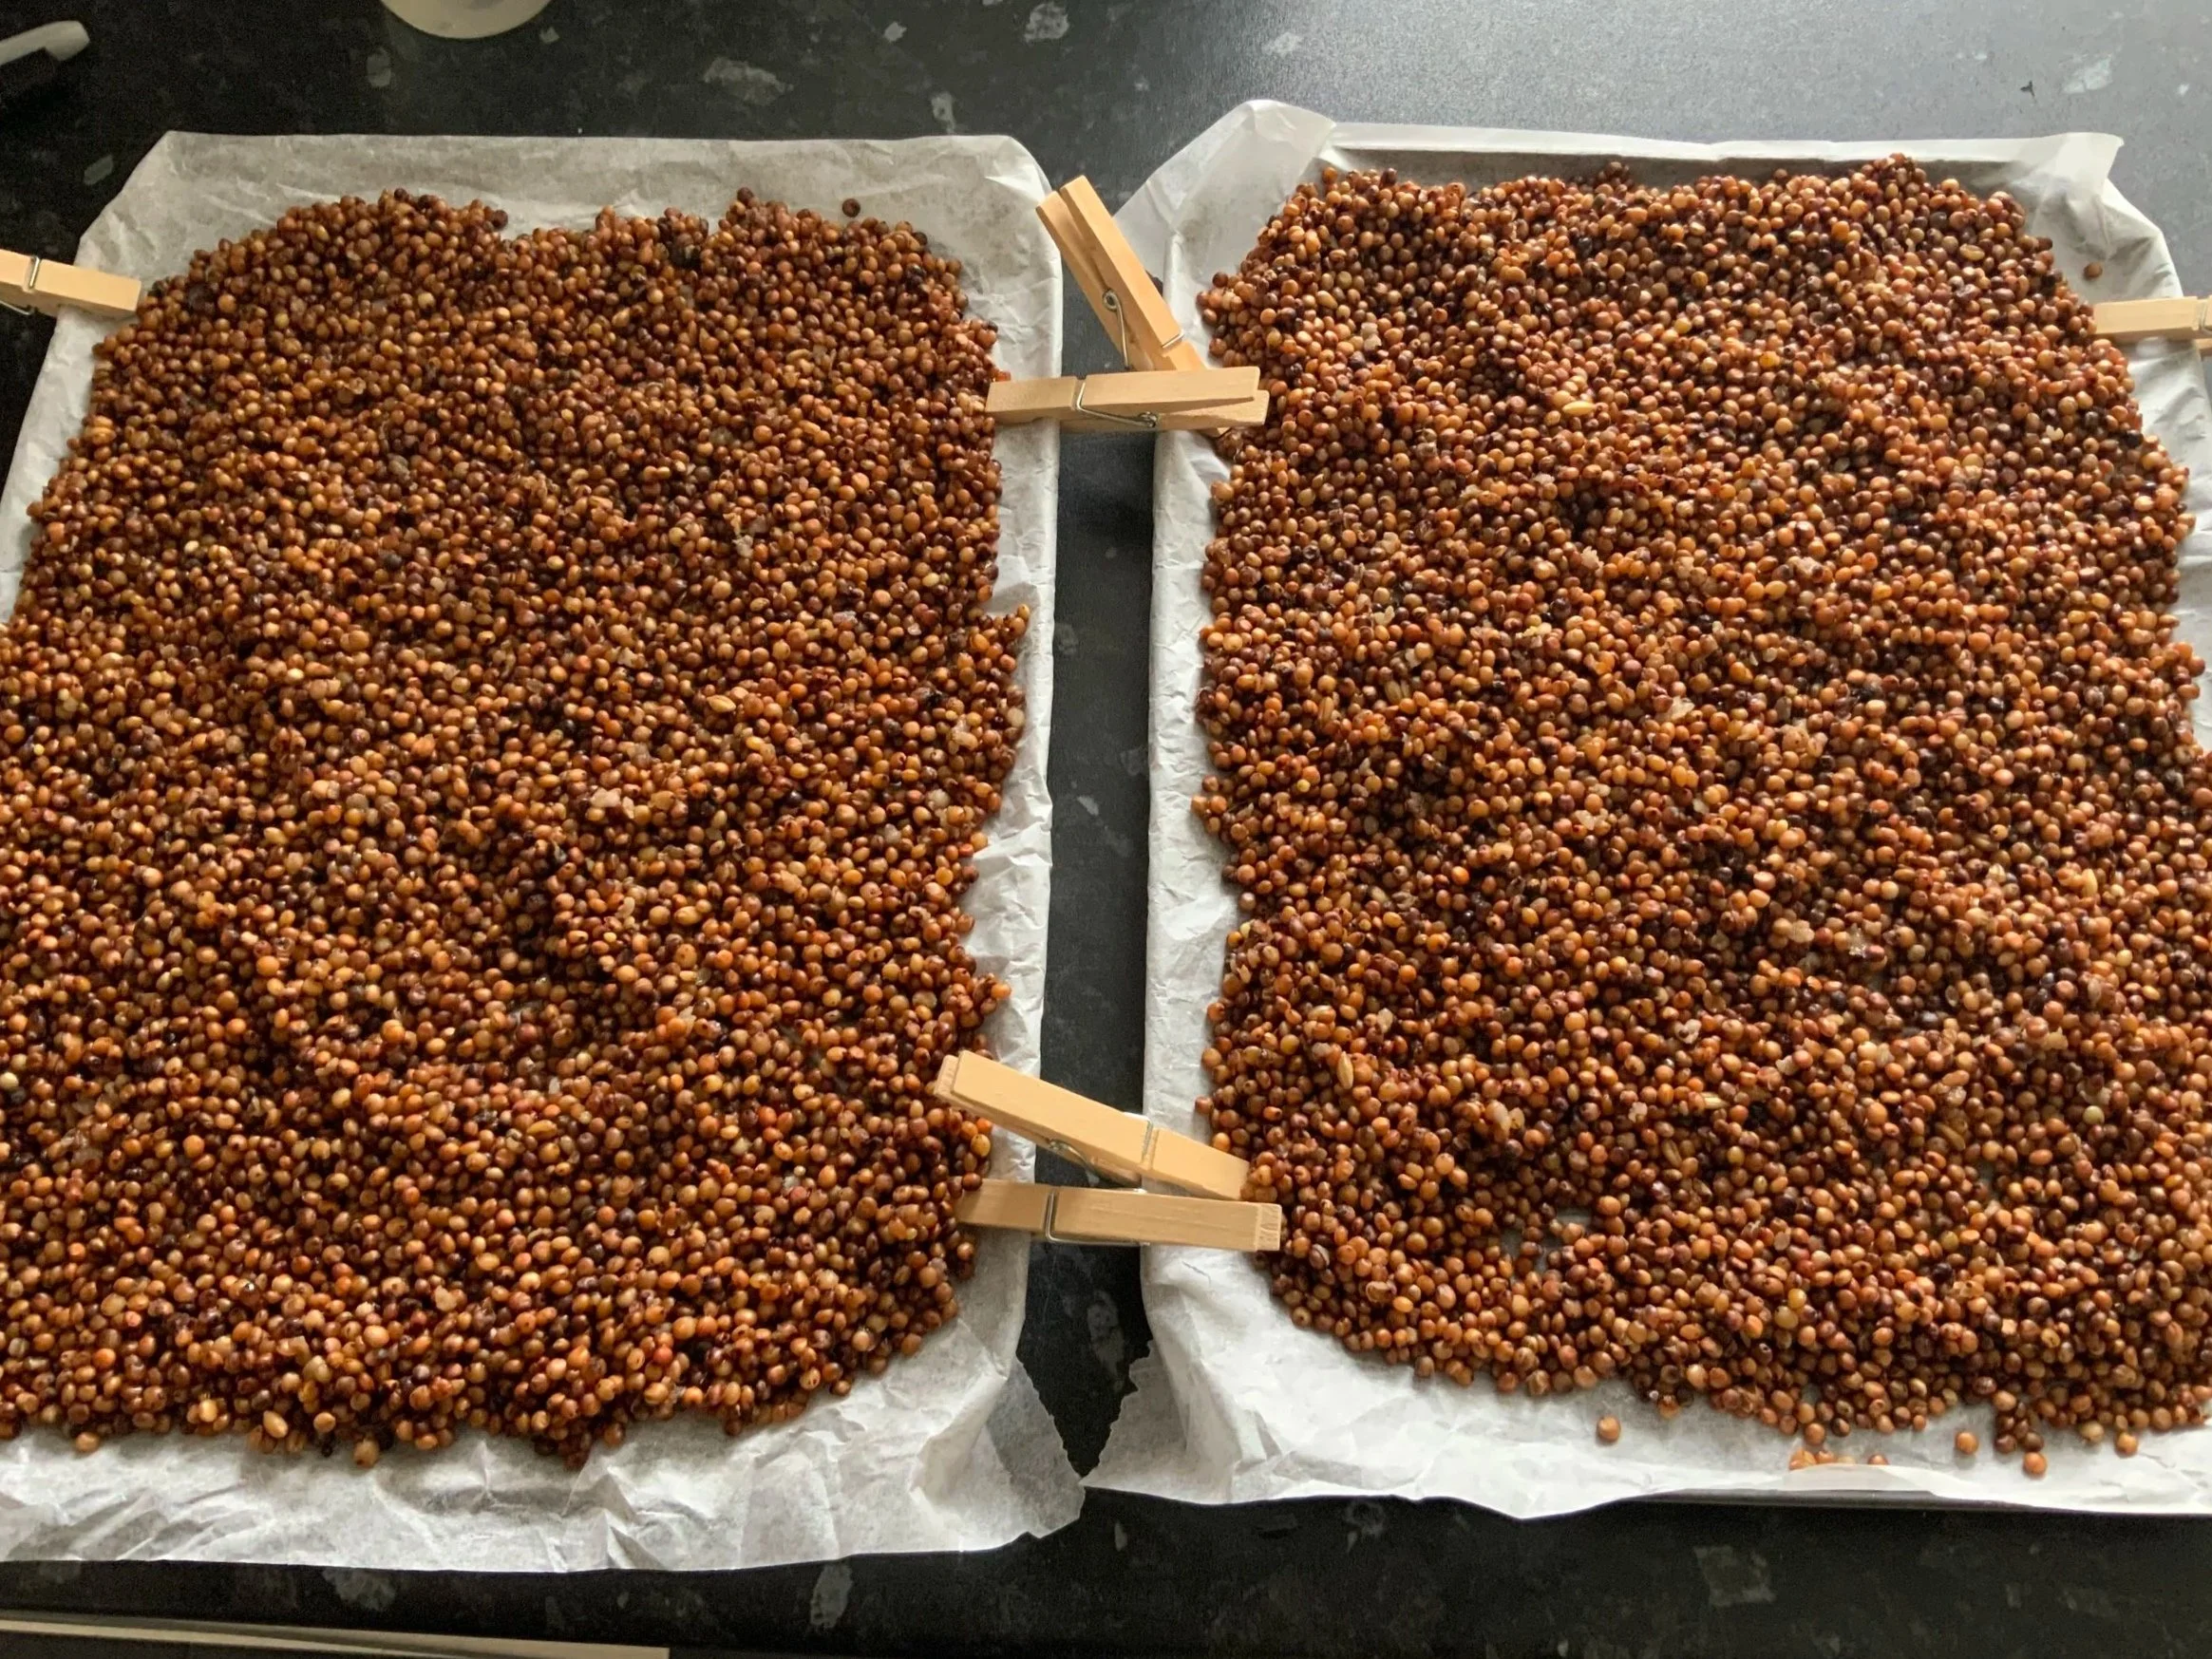
I didn’t want to waste any, if at all, of the grains by throwing it all in a colander and hoping that enough gets trapped inside it rather than seeping out of the holes! So I used a small hand held mesh to gently scoop the HOT grain spawn out of the saucepan and onto baking trays.
Cooling down
I covered some baking trays with parchment/ baking paper and gently moved the grains from the saucepan to these. By spreading the grains out, it allows them to cool down and the water the evaporate so the grain wasn’t mushy. I did find a few kernels that seemed a little past their best so I removed these as I scooped the grains up and spread them out onto the trays.
I used wooden pegs to keep the paper in place as I moved everything around!
Modified jars
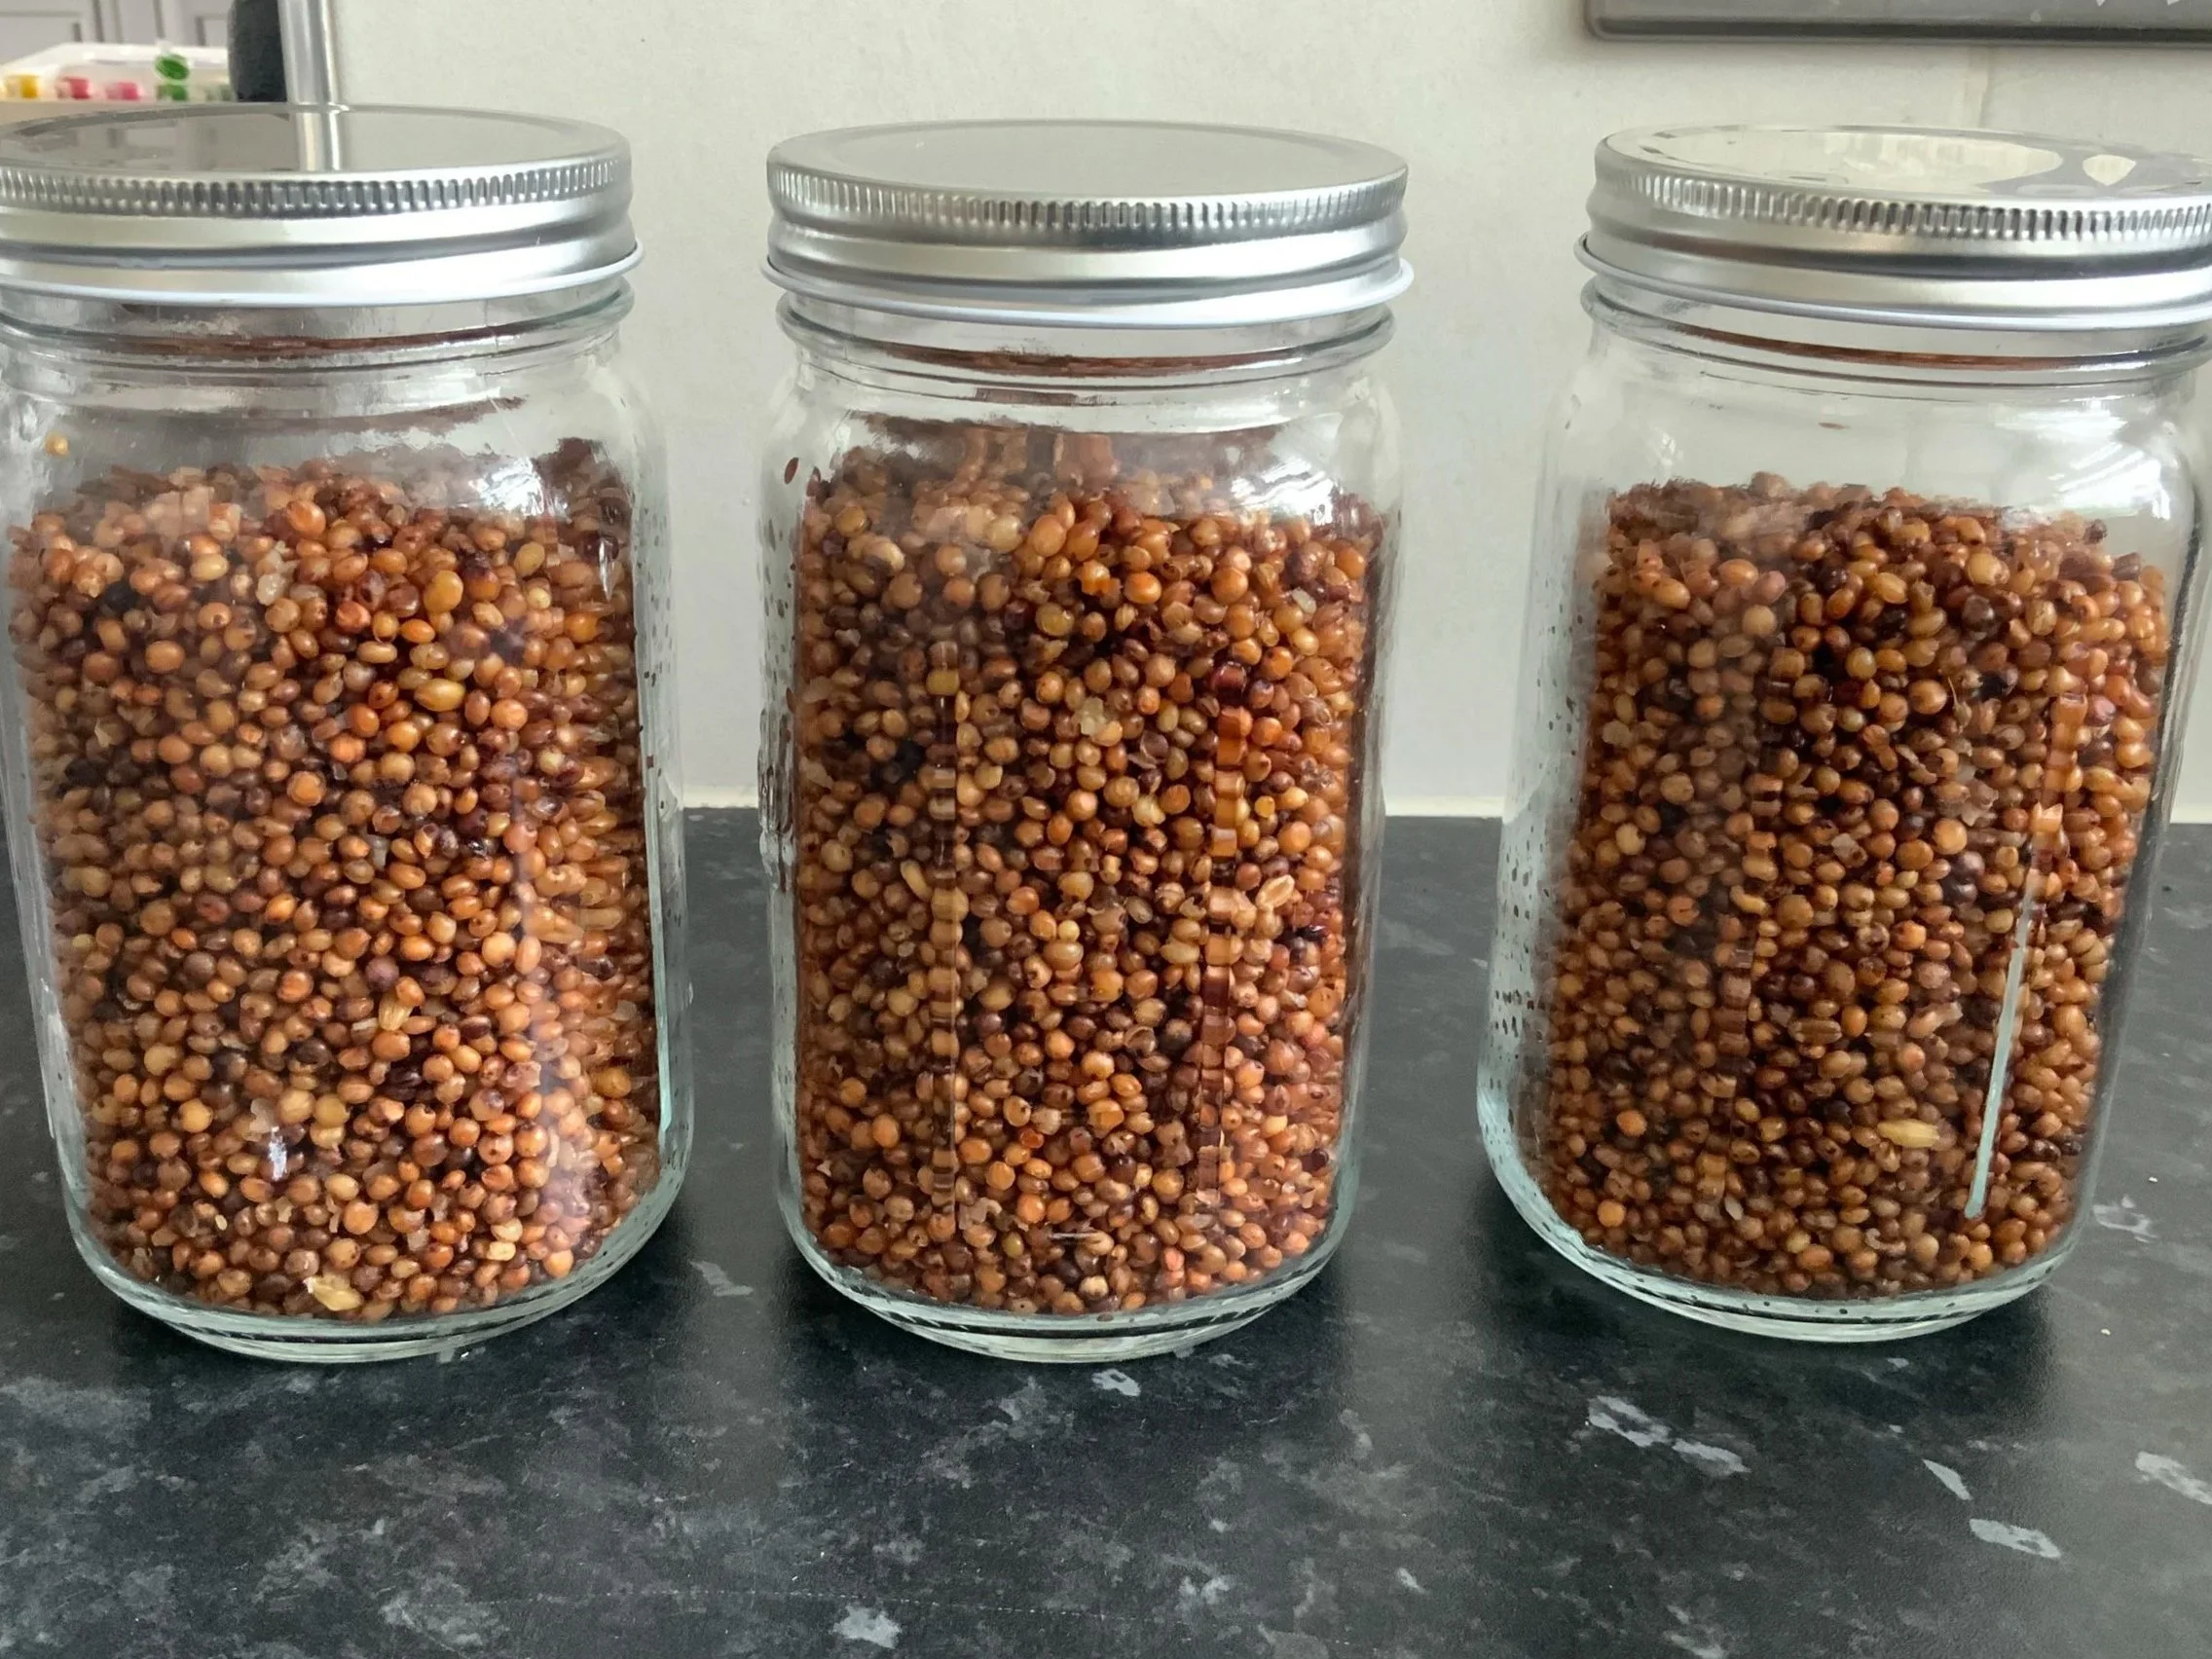
I found that 1kg of soaked milo was more than enough for 3 medium sized jars; in fact with hindsight I think I could have shared the grains out between 4 jars in order to give them more space at the top.
However before moving onto the next stage, I had to create holes in the lids to allow the mycelium to breath (more on that later), and so I used a 6mm drill bit to make a hole in each lid (in the centre). I then covered the holes with microporous tape as this would allow the release of CO2 without allowing contaminates to get in.
Pressure cooker time!
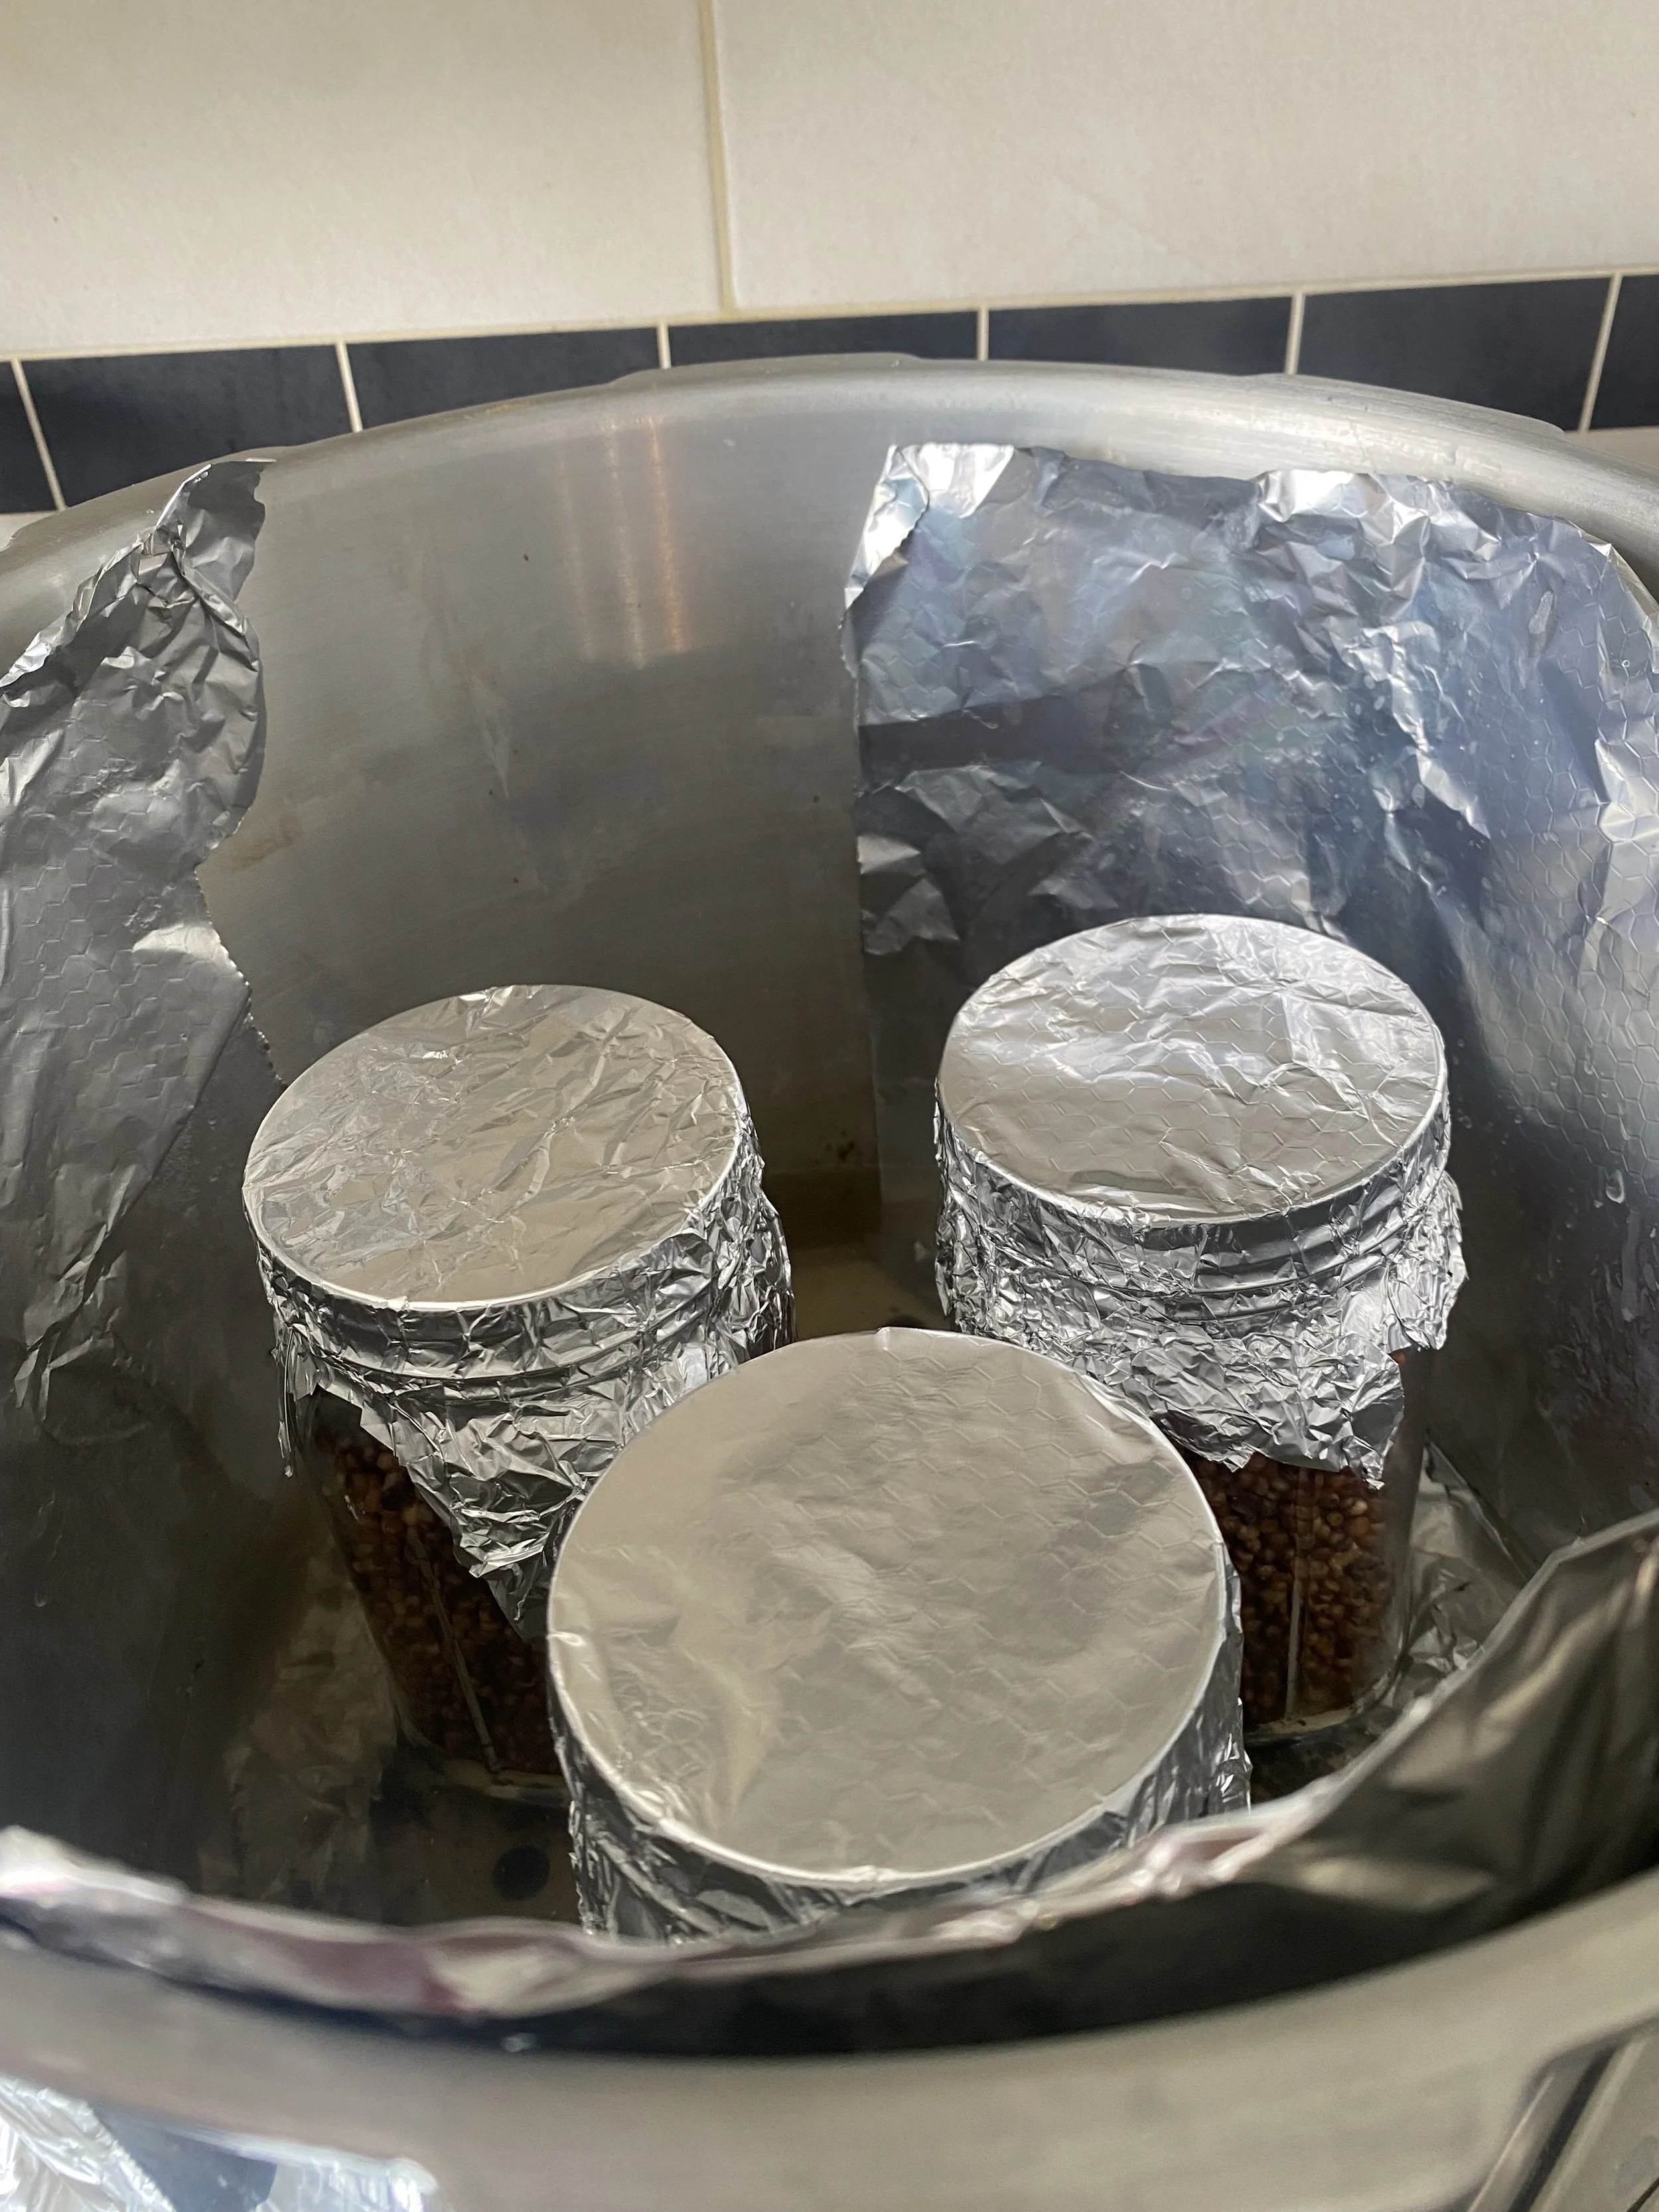
The next stage is also a bit lengthy but important: I covered the tops of the lids with tin foil so that the microporous tape wasn’t impacted by the high temperatures. I placed each jar in the pressure cooker making sure they didn’t touch each other, and started the process of sterilising the jars and grains within.
I sterilised the jars for 90 minutes at 15 psi.
I would say that you need to know how your pressure cooker works and what steps to take to get the best out of the process; it has taken me time to get to grips with the different stages to get the pressure up and maintain the levels throughout the steralisation process. Each pressure cooker is different but once you know what you’re doing, it opens up a whole different level of mushroom growing!
I set my pressure cooker up in the afternoon, and once the 90 minutes was completed, I then left it alone to cool down overnight. Yes, another overnight stage.
Remember those jars are going to be extremely hot and dangerous so leave them be until they are cool enough to handle.
Adding the grain spawn
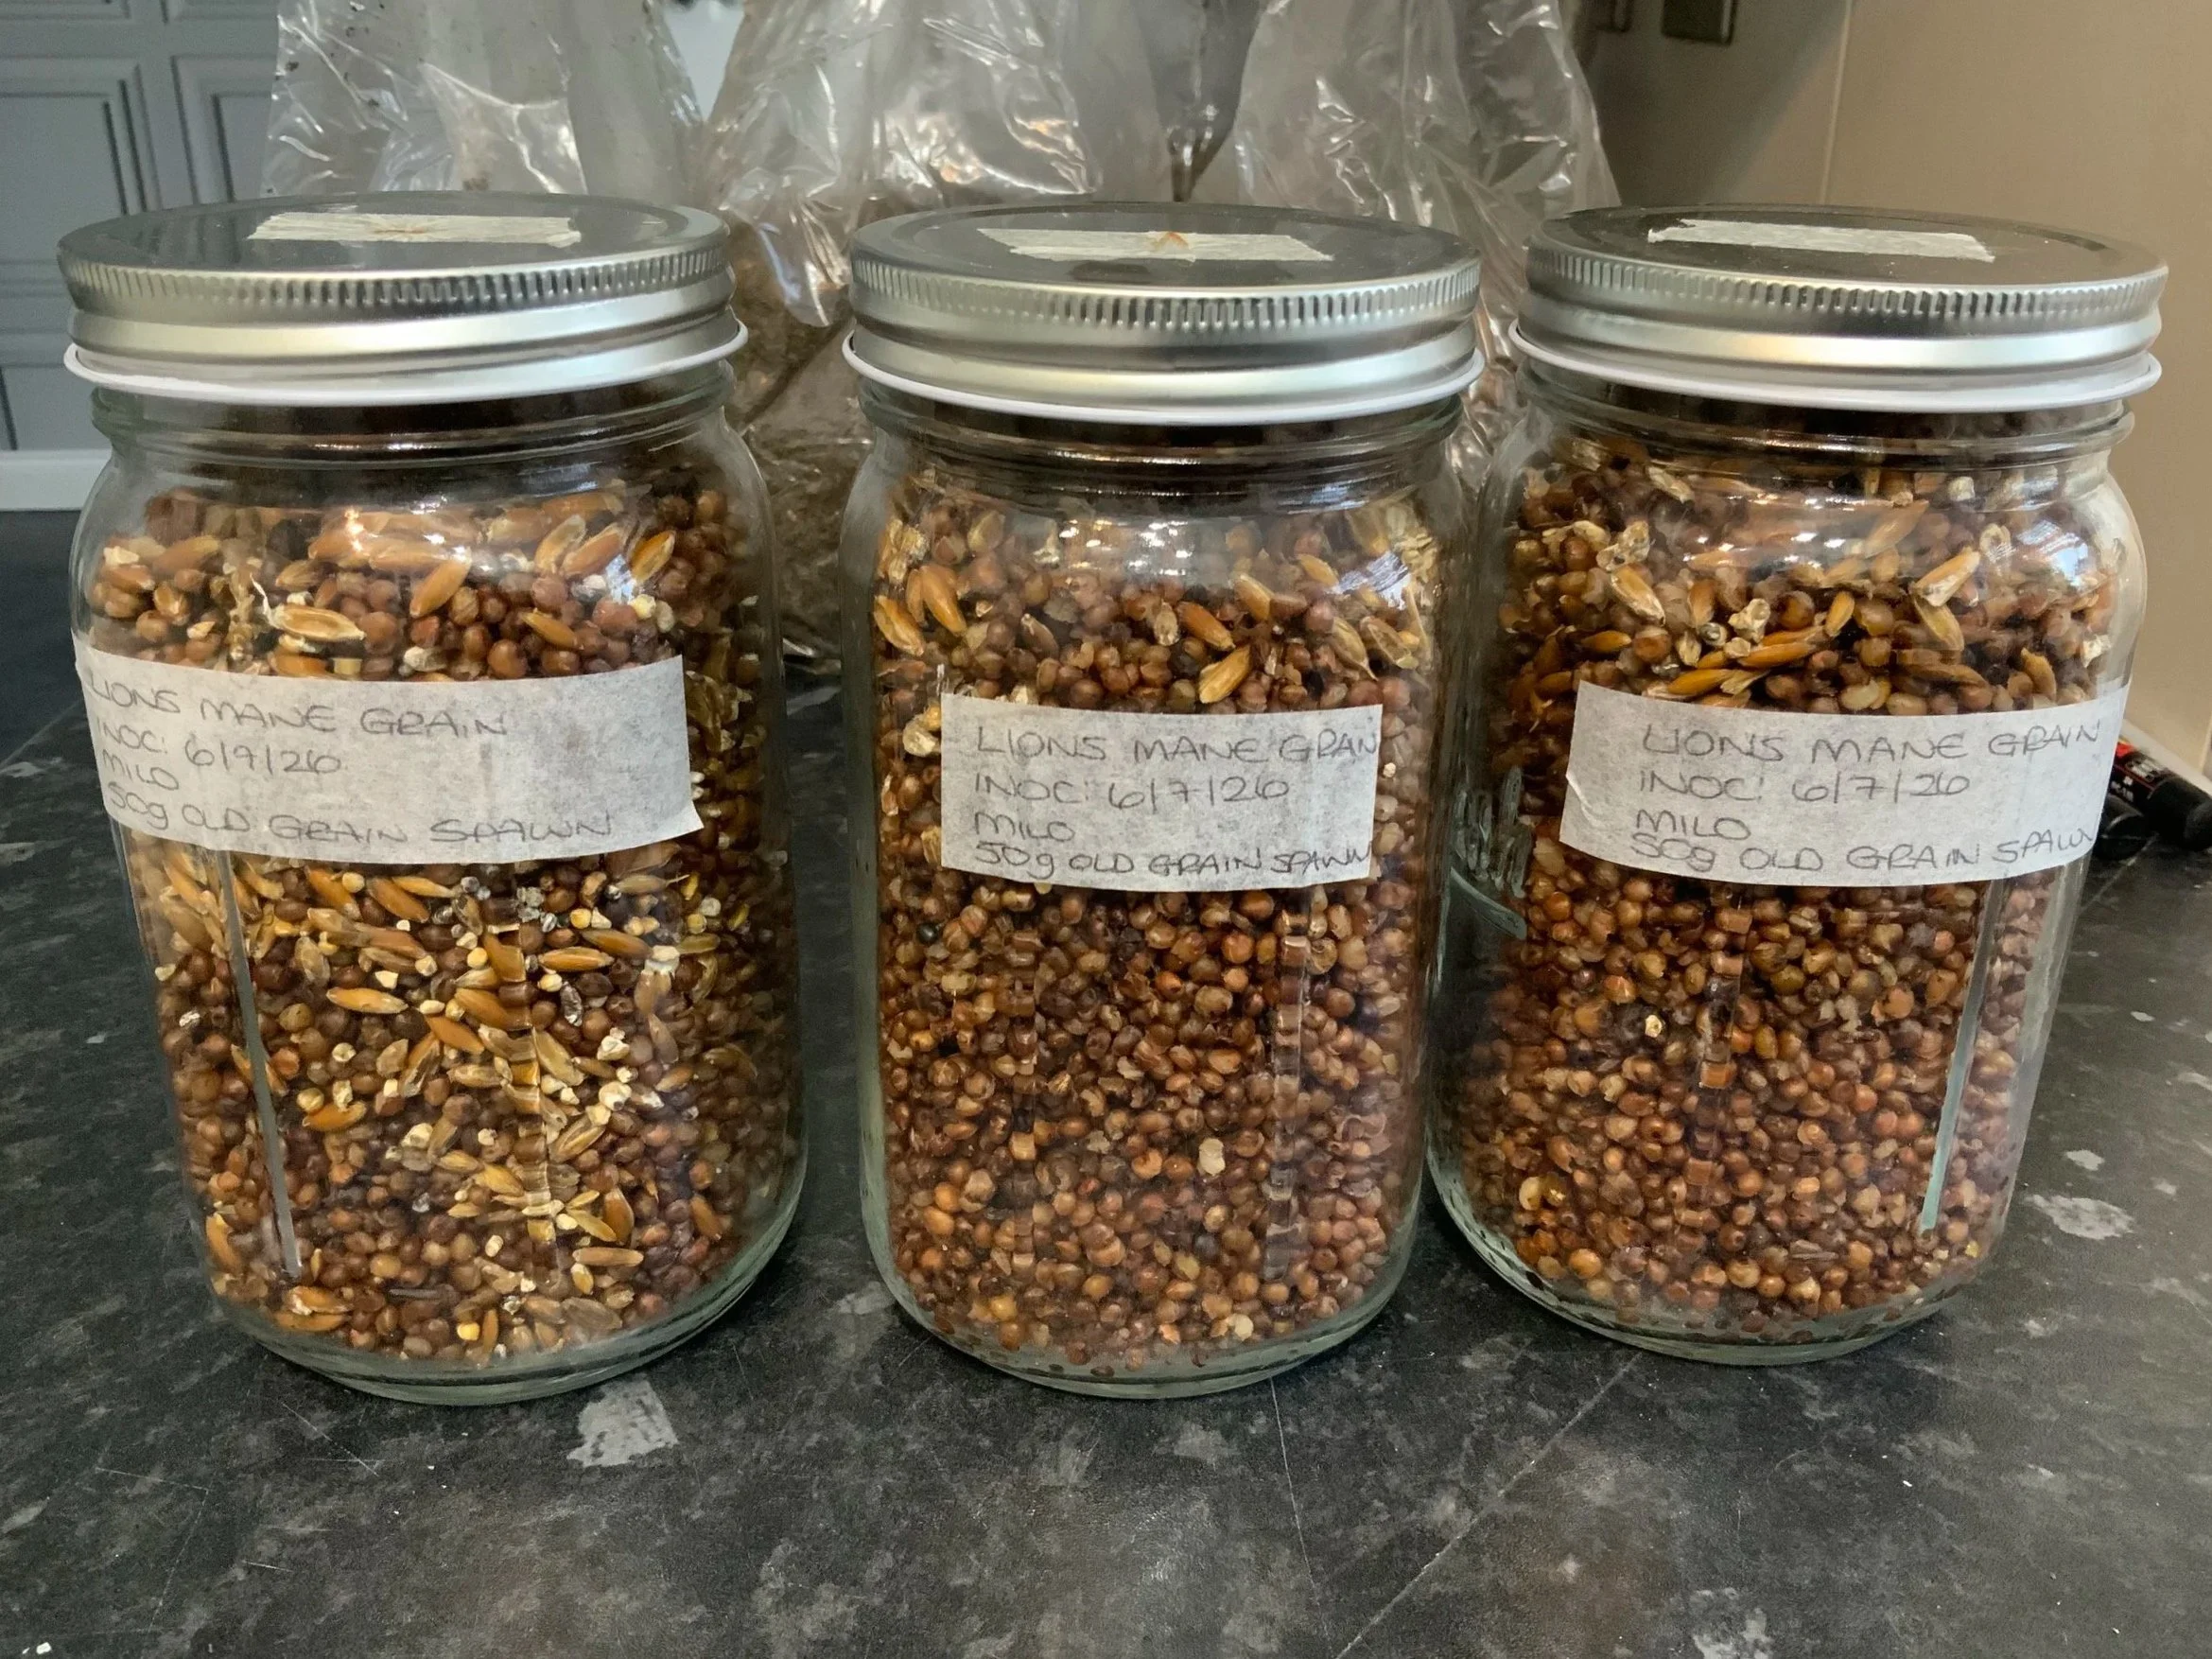
I had about 150g of Lions Mane grain spawn ready for this stage, and so I measured out 50g for each jar and in front of a flow hood (a must-have piece of equipment if using grain spawn or agar) I popped the measure into the jar before closing it quickly. I didn’t want to increase the changes of any other mould spores getting into the jar even though I was using a flow hood so this was a blink and you miss it movement!
I gave each jar a shake to mix the grain spawn in with the newly sterilised milo. The jars need a dark and warm area for the mycelium to start colonising the milo so I made space in my pantry where I could keep an eye on them and let fresh in on a a daily basis.
And that was basically it.
It wasn’t such a complicated process as I’d originally envisioned although some of the steps were lengthier than I’d expected. Ive already decided that should this be something I’ll do on a regular basis, I need larger jars and not fill them as much as I did!
I’ll publish another blog on the progress of the jars as the weeks progress.
Exciting times!
